As Australians, we love the idea of getting out into the bush and being at one with nature. But venturing out can be a dangerous pastime if you don’t know what you’re doing and are not prepared.
You never know when you may be placed in a lost or stranded situation for which you have not planned or an urban emergency crisis that takes you out of your comfort zone. Many people do not consider ‘what could go wrong’ and are, therefore, unprepared both mentally and physically for such situations. This, in turn, can leave them poorly equipped to deal with a challenge of this type. The better prepared you are, the less affected and vulnerable you will feel, helping you to react properly and make better decisions when you need to.
Learning wilderness survival and bushcraft skills such as fire making and management, water procurement, shelter building, tree and plant uses, navigation, camp craft or how to use signalling devices, can greatly improve your chances of surviving and being rescued in the unfortunate event of something going wrong such as becoming lost or injured in a remote area or a vehicle breakdown. Learning these life skills can also greatly benefit people caught in an urban emergency or crisis which takes them out of their usual comfort zone.
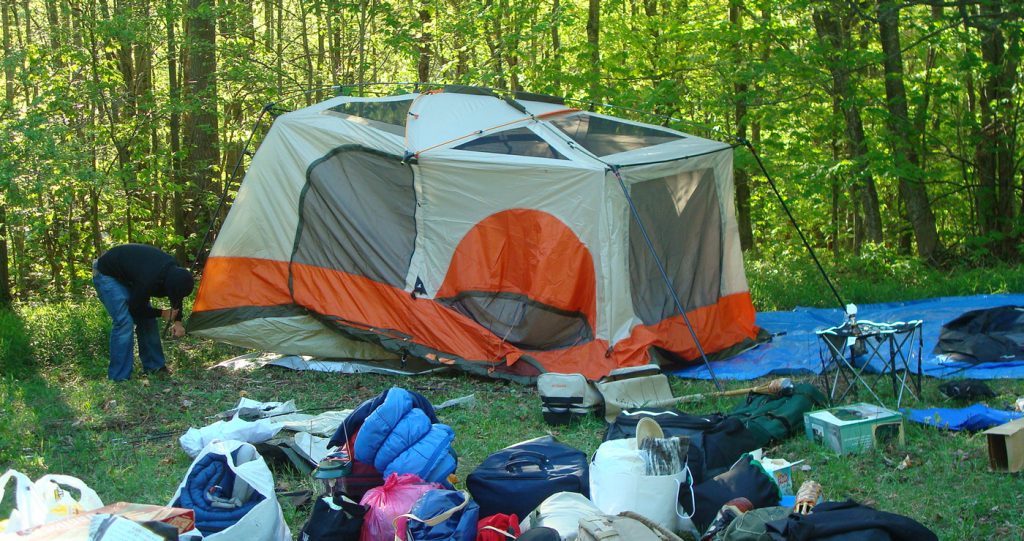
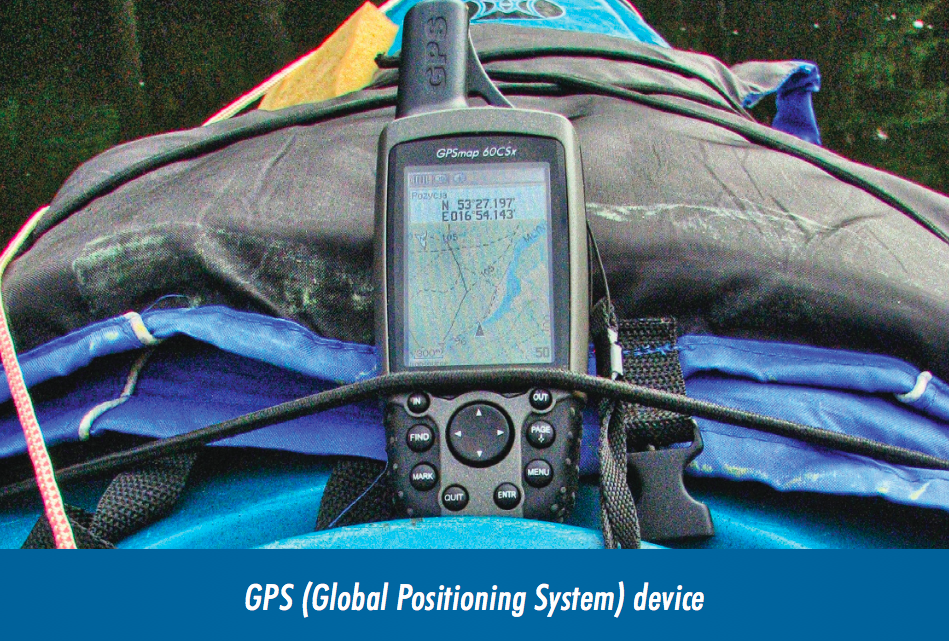
In recent years, and especially since the Covid pandemic, vehicle camping or “glamping” to be more accurate, has become a huge thing in Australia with more and more people gaining access to remote areas via the use of their 4WD’s. This has been both a good and a bad thing as it has enabled more people to get out, see and enjoy more of our large beautiful country but bad in the sense that people have become too overly dependent upon the ridiculous amount of unnecessary equipment, gadgets and paraphernalia that goes with it, totally insulating themselves from any real interaction with nature. You just have to take a look at the shelves of Australian camping stores to see the plethora of unnecessary luxury equipment that now fills them. This over dependence on equipment and gadgets, coupled with a non existent knowledge of bush skills has led to a number of fatalities in our outback and non urban areas and it will continue to increase as people simply don’t know what to do once things stop working or they find themselves lost without their fancy gadgets and technologies that they are so dependent upon.

This increase in 4WD camping without any outdoor knowledge and skills, has also led to an increased number of our beautiful places being trashed and left in an appalling state. Embarrassingly, far too many Australians do not know how to clean up after themselves or know how to respectfully go to the toilet in the bush, burry their waste and burn their toilet paper (if it is safe to do so, taking it with them if they cant) leaving no trace they were there.
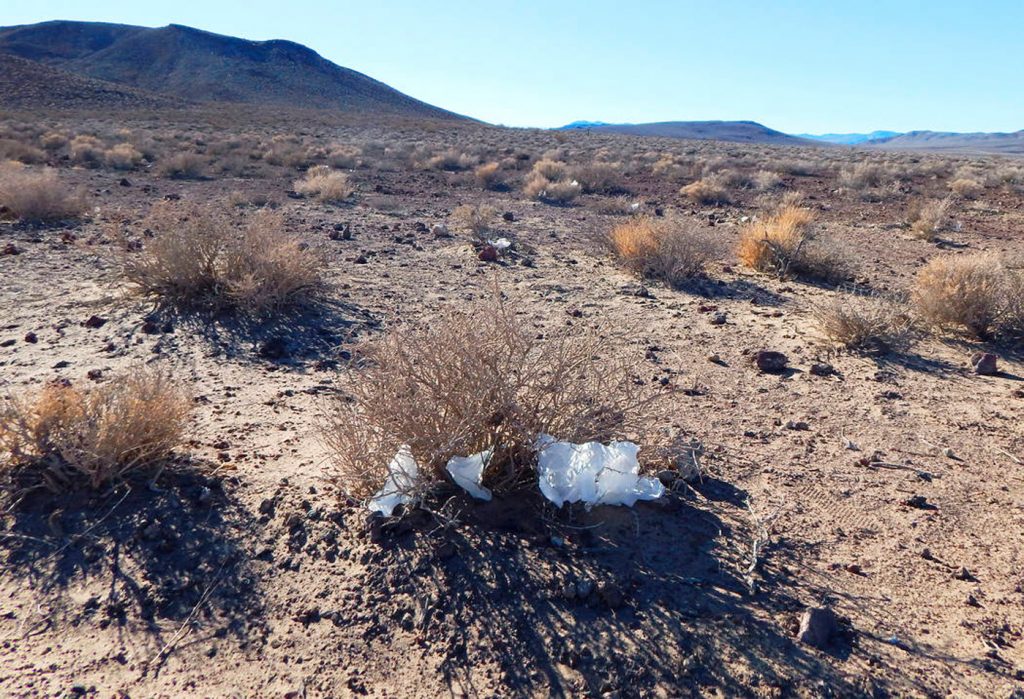
This is a social problem and one of the reasons we are seeing so many increased rules and laws preventing people from visiting and interacting with many of our wild places. Is it because people are lazy, ignorant or just don’t care or because of a complete lack of relevant outdoor education and environmental stewardship which should be taught at school but isn’t?
This same attitude and over reliance on equipment without any knowledge or skills, was the thing that led many of Australia’s early explorers to their deaths, such as the ill fated Burke and Wills expedition who took over 20 tonnes of equipment and provisions with them but had no knowledge of the land, any bush skills or any respect for traditional aboriginal wisdom, thus perishing as a result! That’s natural selection as far as I’m concerned. Regrettably, these two fools made it into the history books as well known Australian explores. There is even a range of camping products named after them! A travesty indeed!
The opposite is true of John McDouall Stuart who travelled very light, only taking with him essential equipment and relying on his knowledge of the bush, his skills and respect for traditional knowledge. He was successful and probably Australia’s best explorer.
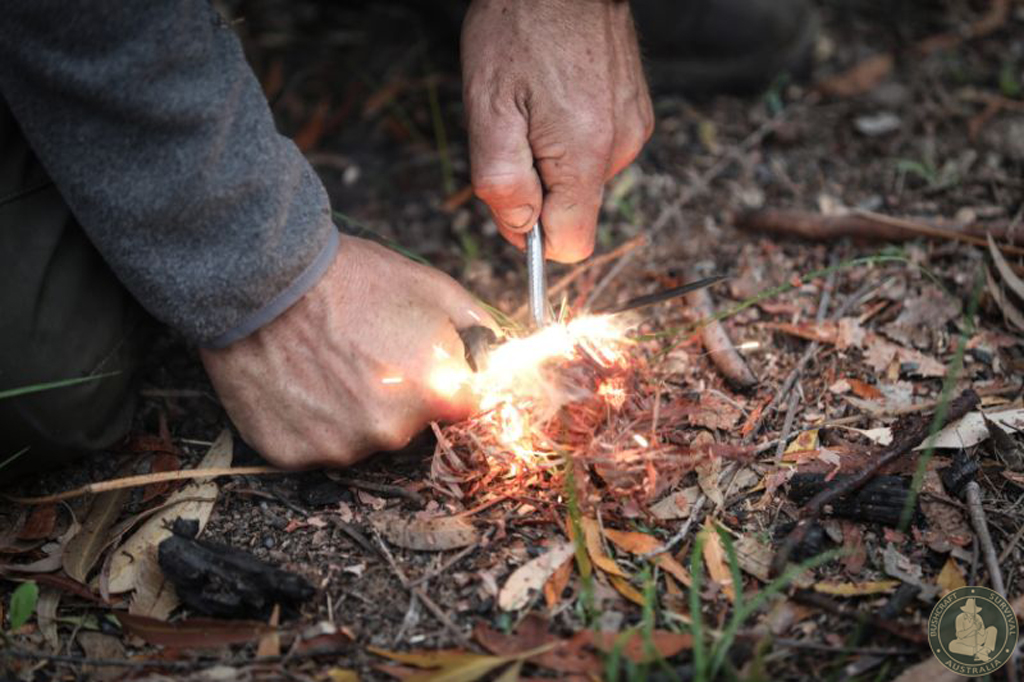
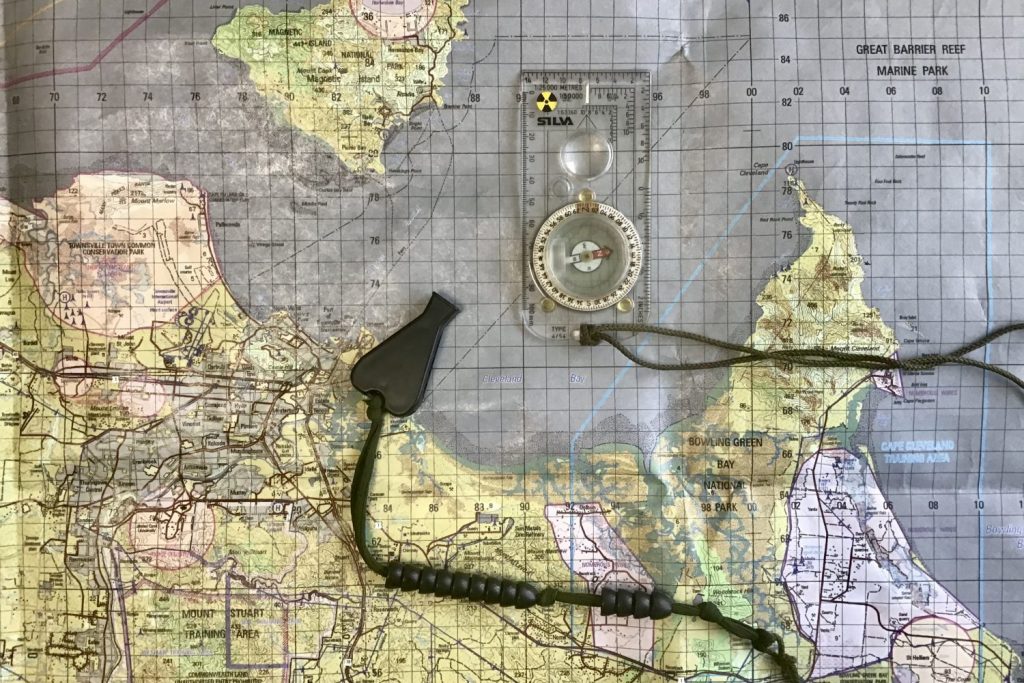
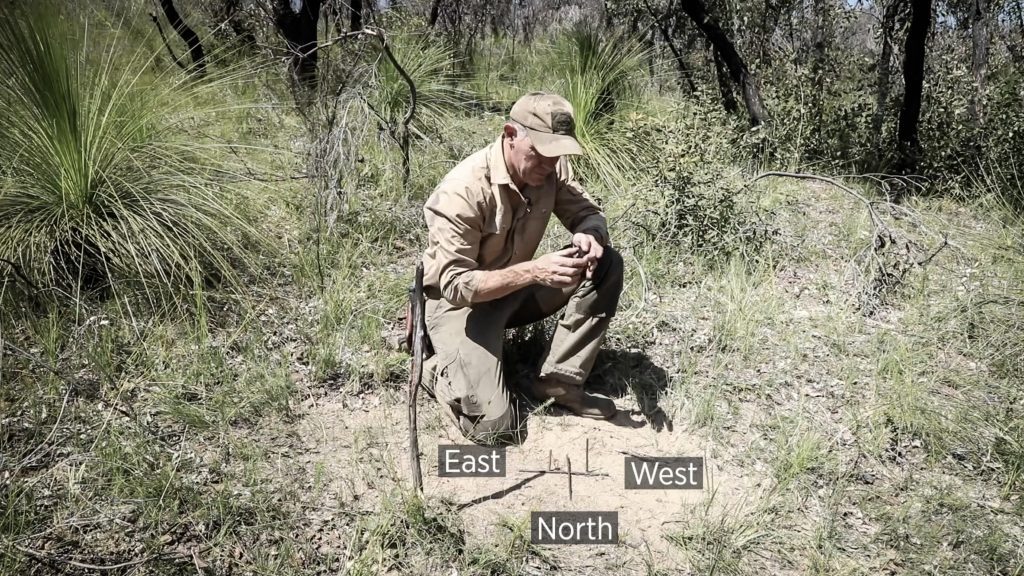
Unfortunately, many people only see learning survival skills as something “they have to learn just in case something goes wrong” and don’t realise that a lot of the skills learnt in survival training and it’s very different parent subject “bushcraft”, are fun and interesting in their own right and instil a deep respect for nature and the environment. Many Australians also consider themselves to be “self proclaimed experts” when it comes to bush skills, however in reality, nothing could be further from the truth with the vast majority of Australians not being able to light and maintain a fire correctly, know how to make water safe to drink, have an appalling knowledge of the trees and plants around them, or don’t know how to use a compass or find South using the Southern Cross!
Many people also lack the basic knowledge and skills to handle an urban emergency or crisis in which the power has gone out and supplies are low. The mass panic buying of toilet paper and other items during the Covid pandemic clearly illustrates this.
Survival / Bushcraft / Camping
What’s the difference?
There are significant differences between survival, bushcraft and camping and most people don’t realise what these differences are.
Survival
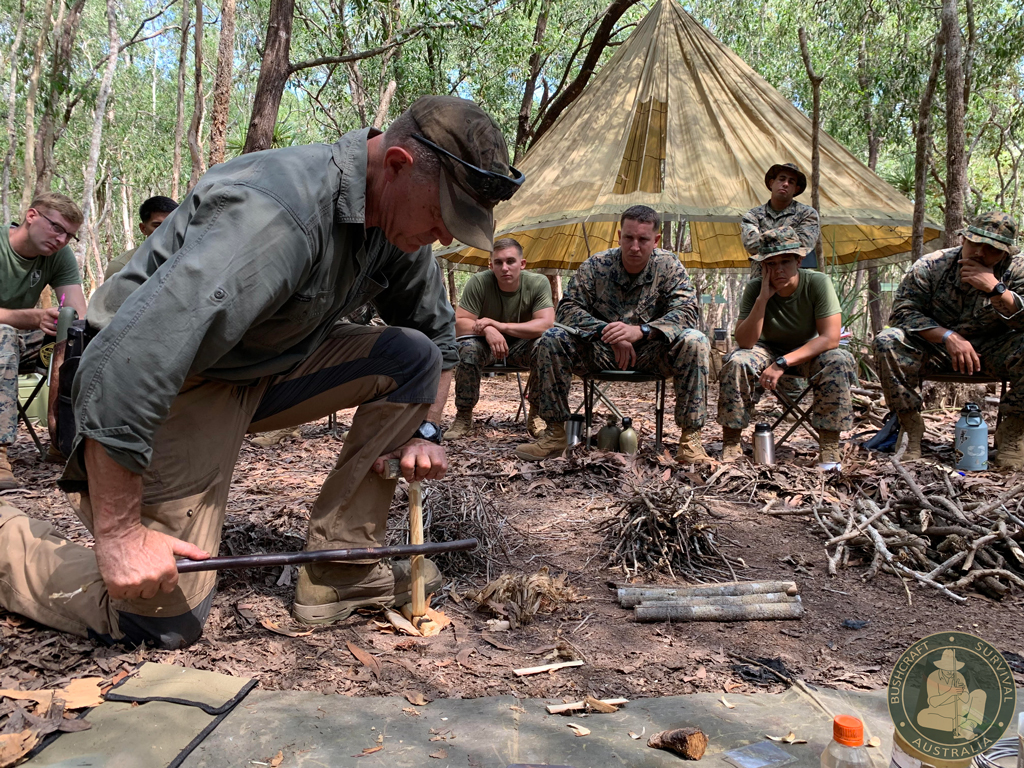
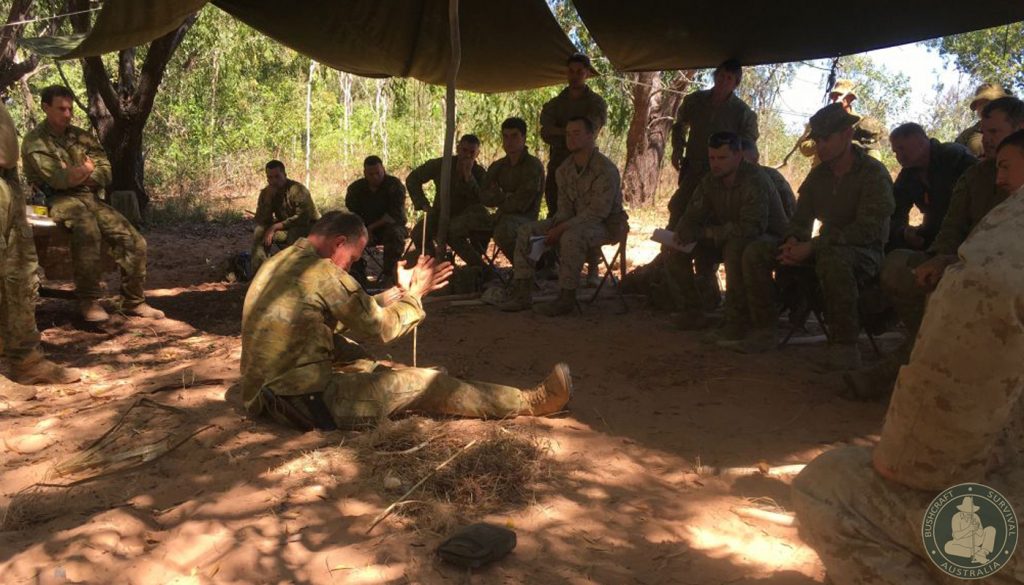
Survival training is what the military teaches our soldiers, pilots and seaman in order for them to stay alive in a remote or hostile environment, long enough for them to be rescued or effect self rescue. During World War 2, there was the real threat of pilots being shot down almost anywhere in the world, so the need arose for survival manuals with universal principals that could be applied in any environment.
Survival training is designed to teach serviceman and servicewoman a variety of necessary skills in the shortest possible time. These skills include learning the survival priorities of first aid, clothing, shelter, fire, location, water, food and navigation which can be applied to different environments. Many civilian activities and extreme sports such as mountaineering, climbing, hiking, cross country skiing etc require survival type training relevant to their chosen activity to be undertaken in order to participate in that activity safely.
Survival type training is typically focused around a 72 hour emergency situation where something has gone wrong, be it a vehicle accident, plane crash, natural disaster, a war zone or someone becoming lost in the bush etc.
Survival training is primarily equipment focussed or improvising with equipment in order to get out of that particular situation and back to “civilisation” or safety as fast as possible and in any way possible with little or no regard for nature or the environment in the process. Ethics go out the window as it’s an emergency situation.
The word “survival” became popularised in the 80’s with the “Rambo” type movies, the fit for purpose “survival knife” and the misconceived idea that man needed to “fight” nature and the elements in order to survive at any cost! This has led to a spate of reality based TV shows in recent years that over-dramatise this underlying fear based narrative of man “against” the hostile environment…some good, some not so good and some absolute rubbish!
These shows although popularising outdoor pursuits and sparking an interest in the “survival world” which is a positive thing, have been focused primarily on entertainment and drama in order to secure ratings, rather than on educating the public about realistic skills and best practice.
Bushcraft
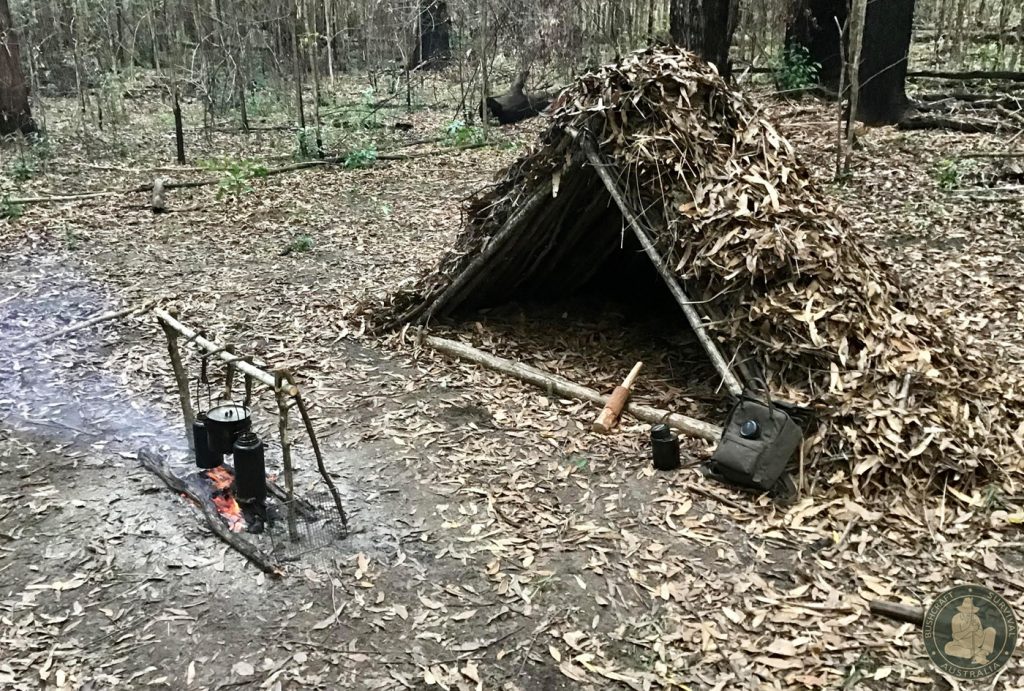
Bushcraft focuses on maximum use of knowledge and skills with “minimal” reliance on equipment. Bushcraft is the parent skill that all survival training comes from and has a genuine direct relationship with the land and a deeper connection to nature.
Bushcraft draws from the knowledge and skills that traditional cultures across the world have used to survive and live comfortably in the wilderness for thousands of years.
The etymology of the word “bush” is not Australian as many Aussies believe but likely to have Dutch roots. The term bushcraft originated in the 1800’s in the new world British colonies (America, Canada, Australia, New Zealand and Africa) and evolved from the terms “colonial craft”, “bushmanship” and “woodcraft” which were used to describe the wilderness living knowledge and skills that traditional cultures had already been using for thousands of years and that the new settlers, explorers and colonists had to learn and adopt in order to travel through and survive in the new world.
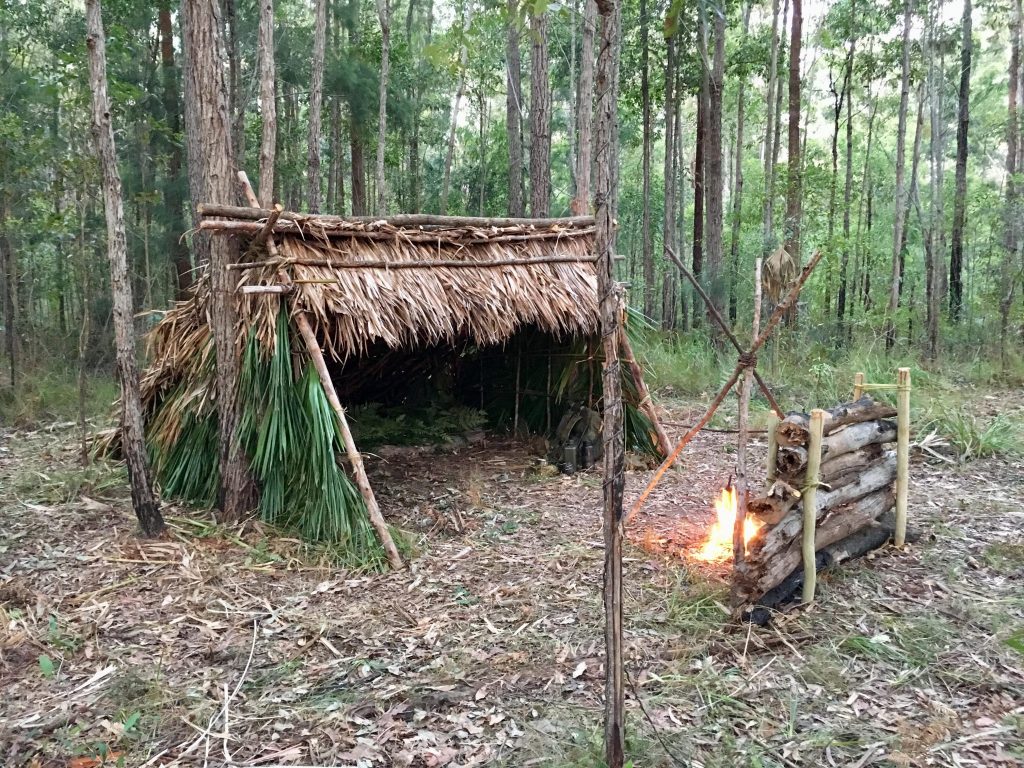
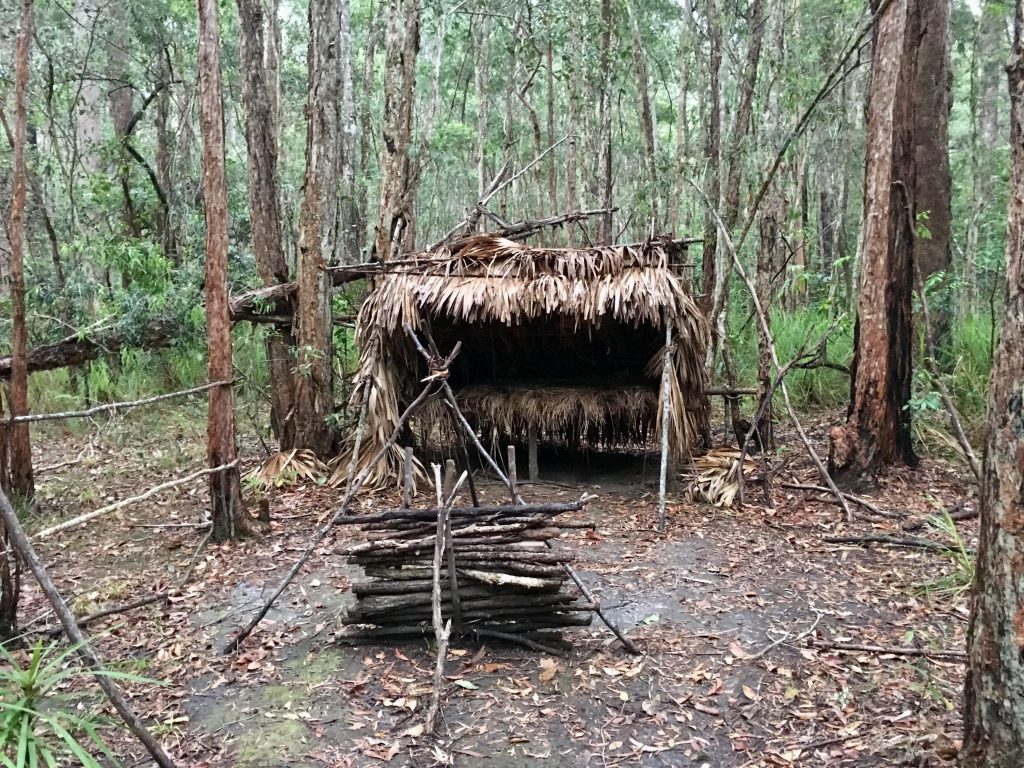
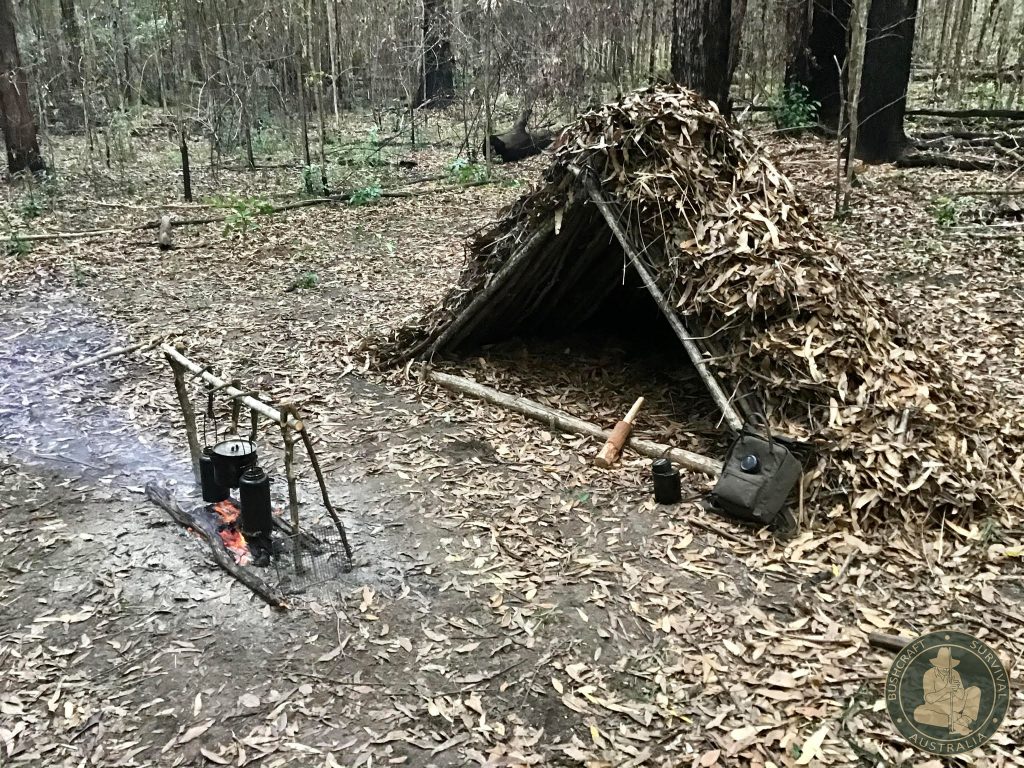
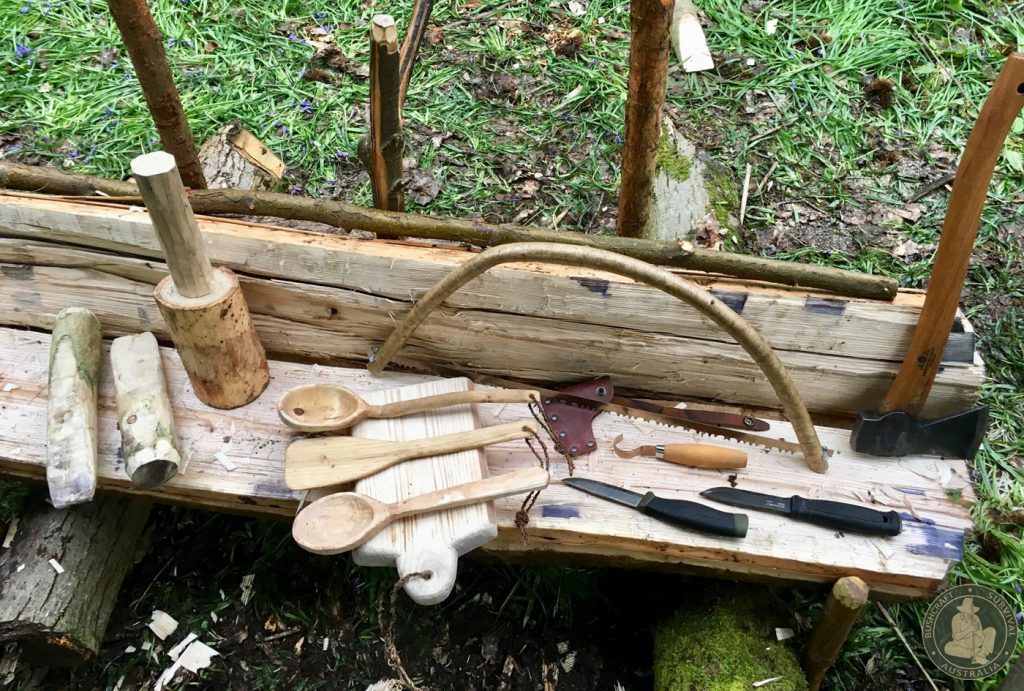
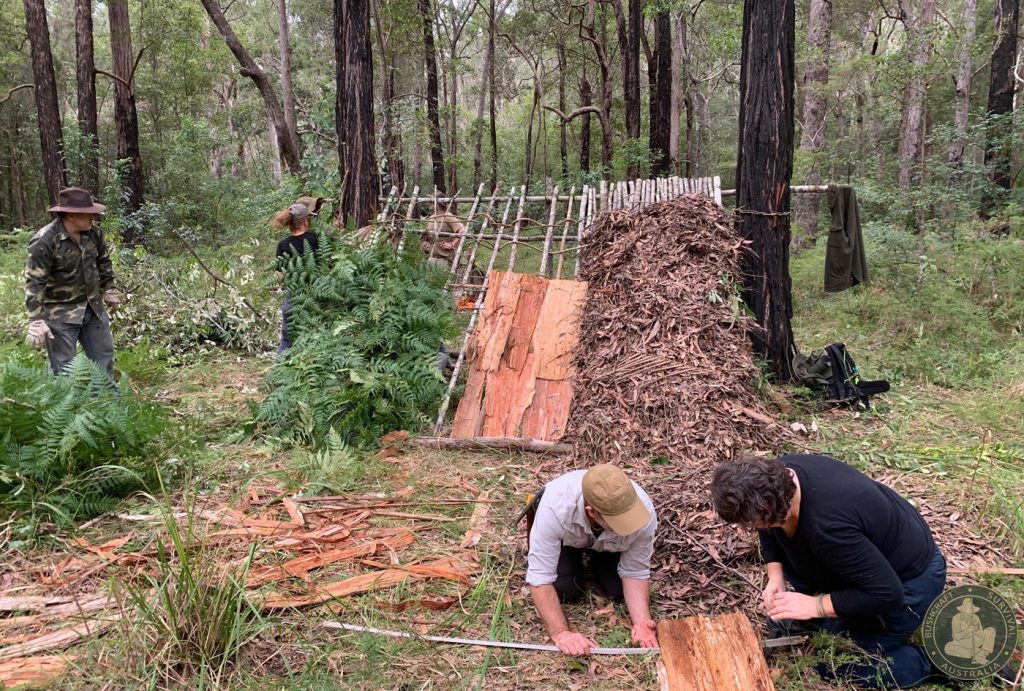
Bushcraft is all about going into the bush with minimal equipment and manufacturing everything else you need from what you find around you. It requires a detailed knowledge of the plants, trees, animals and the natural world that surrounds us, thus contrasting to the absurd amount of unnecessary equipment, gadgets and lack of knowledge that modern camping has come to be.
Bushcraft and survival overlap in terms of their desire for self-reliance but move away from each other in their desire for connection and relationship to the natural world. They both have two different ethical standpoints!
In practise we can move from one to the other as they have very similar skill sets but ethically and philosophically bushcraft and survival are different and quite oppositional.
Camping
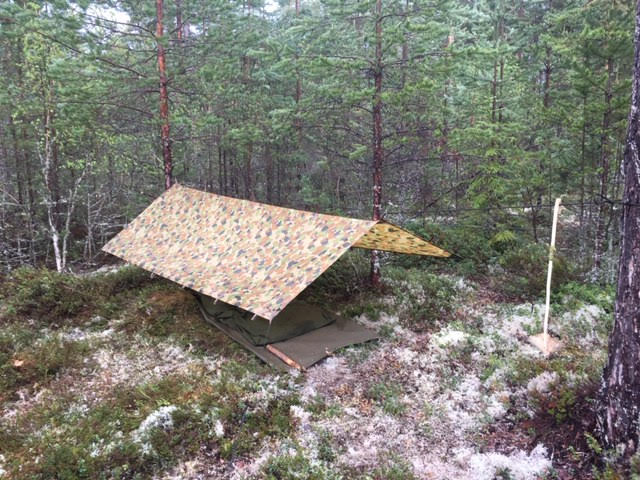
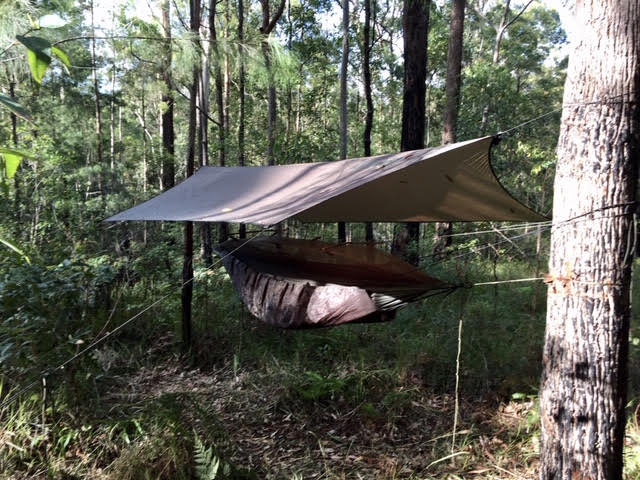
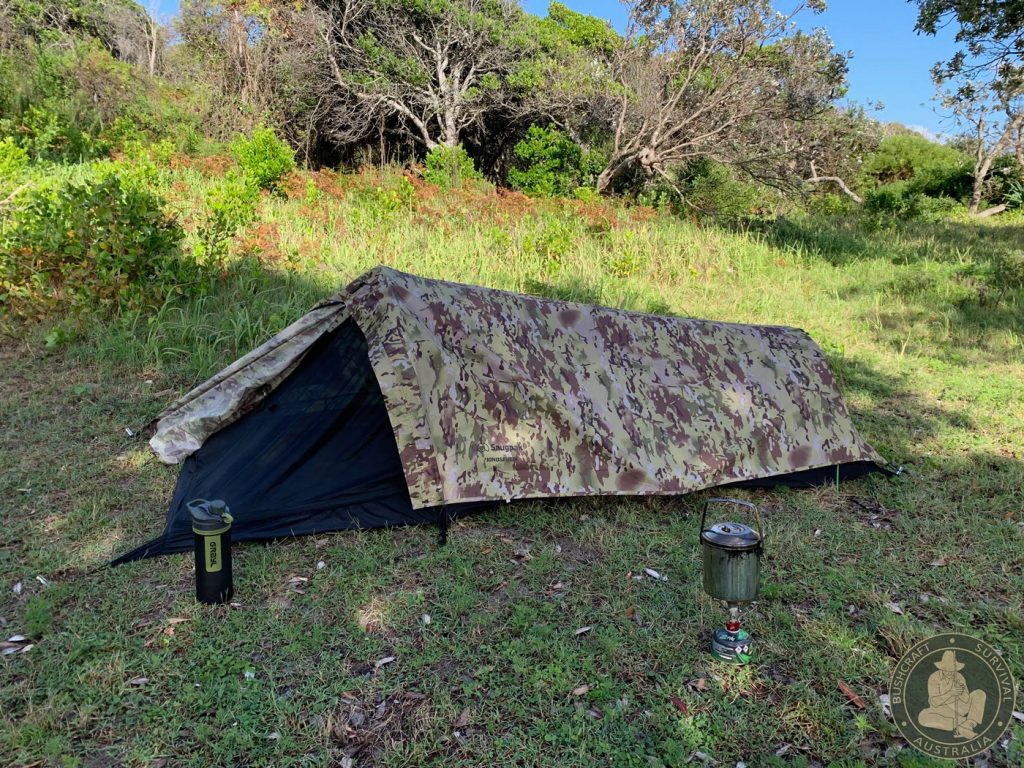
The term camping comes from the military heritage of campaigning, which can be traced back to the 1500’s. The Latin word Campus, “open field or space for military exercise” and the French words camp, “place where an army lodges temporarily” or champ “a field”, eventually evolved to non military activities. The rise of recreational camping and hiking in the 1960’s diverged away from the skills based Woodcraft and Bushcraft ethic of taking only minimal equipment into the wilderness such as a knife, wool blanket and tarp and producing everything else, to people taking too many modern technologies and gadgets into the woods and being completely reliant upon that technology, such as modern camping stoves, tents and high tech luxury equipment.
If something goes wrong, you have no independence or self-reliance beyond the reliance on that technology. Too much
Aldo Leopold (1887-1948) described Woodcraft as “the working knowledge of the land” and camping as “how to work technology to live on the land”. He remarked that, “the rise of camping pads us against the bumps of nature”. In other words, the more equipment you have and depend on to make you comfortable, the more insulating your experience will be, lessening your participation and interaction with nature.
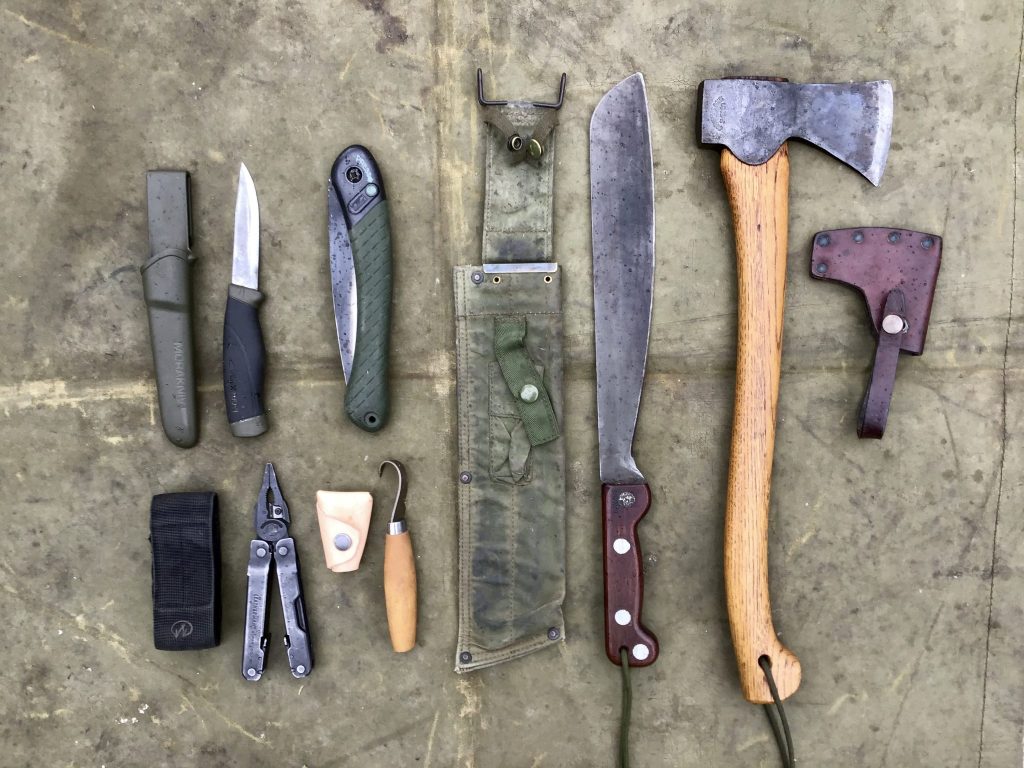
This all is not to say that someone who studies bushcraft does not take with them into the wilds modern equipment, on the contrary, “essential” technology is embraced where needed but it is not overly relied upon so that if that particular item was to be lost or stop working, the person with some bushcraft knowledge would be able to manufacture a solution from nature.
The benefits of nature
There has been a lot of recent research on the benefits of being out in nature and the well-being and health gained from that. The recent Covid pandemic has highlighted this. Even visually looking at pictures of natural environments has proven to be therapeutic, calming and relaxing.
Despite this realisation of how beneficial being out in nature is, there is very little mentioned about “how” to do this and actually “experience” these natural environments.
Its not just about going for a walk or drive outside and using nature as a backdrop. It’s about actually participating in nature and “doing things” in nature rather than just walking through it and looking at it! It’s what we do when we are in there that is important.
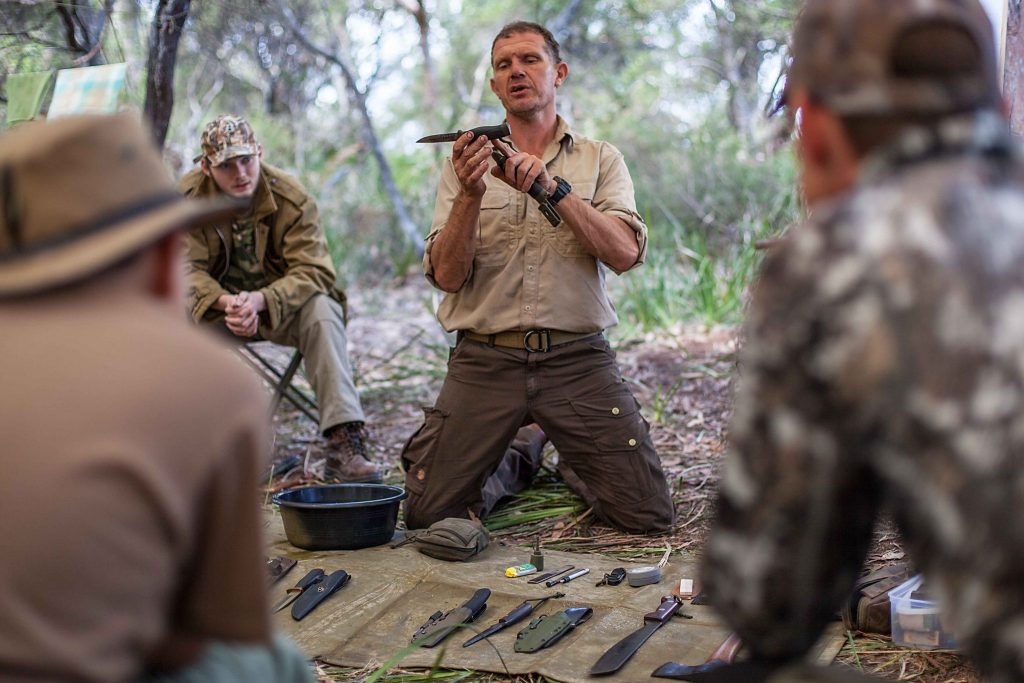
As a bushcraft teacher, its encouraging to see the deep satisfaction and therapeutic effects that students gain from being out in nature and interacting with it physically, mentally, psychologically and spiritually. They feel enriched by the experience and at the end of a course many do not want to leave and want to stay and carry on learning.
The subject areas in bushcraft such as fire making, cordage making, shelter making, plant identification and uses, natural navigation, water procurement, camp crafts, indigenous cooking etc helps us to find our way back to old knowledge, the environment and creates a bridge to indigenous knowledge that once upon a time we all used to draw from.
The study of bushcraft creates an understanding of how we live within the environment and is done in a respectful way. It is immensely rewarding and important for all of us , particularly the younger generation as it teaches many valuable and practical holistic life skills. It develops self-confidence, self- reliance and helps us gain an understanding of traditional cultures and a deeper respect for nature and the environment (our home) which ultimately helps us truly value and look after it!
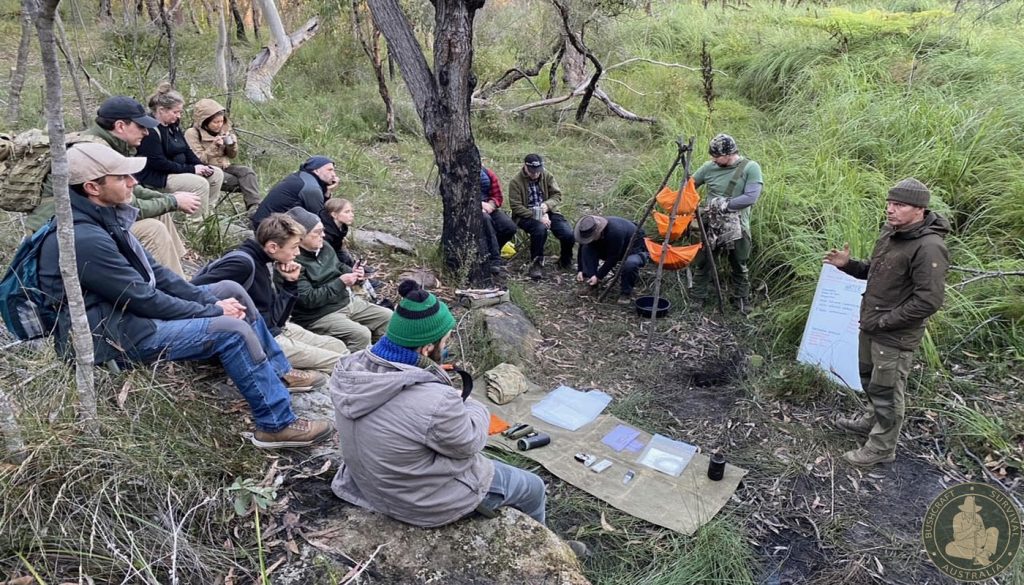
Bushcraft Survival Australia offers courses in bushcraft, survival training and outdoor education from basic to advanced levels, suitable for all ages. View courses here.


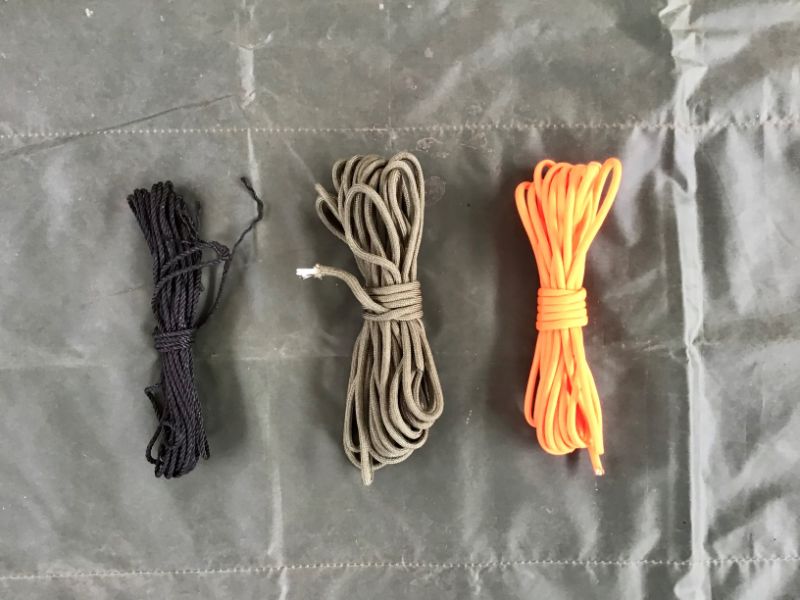
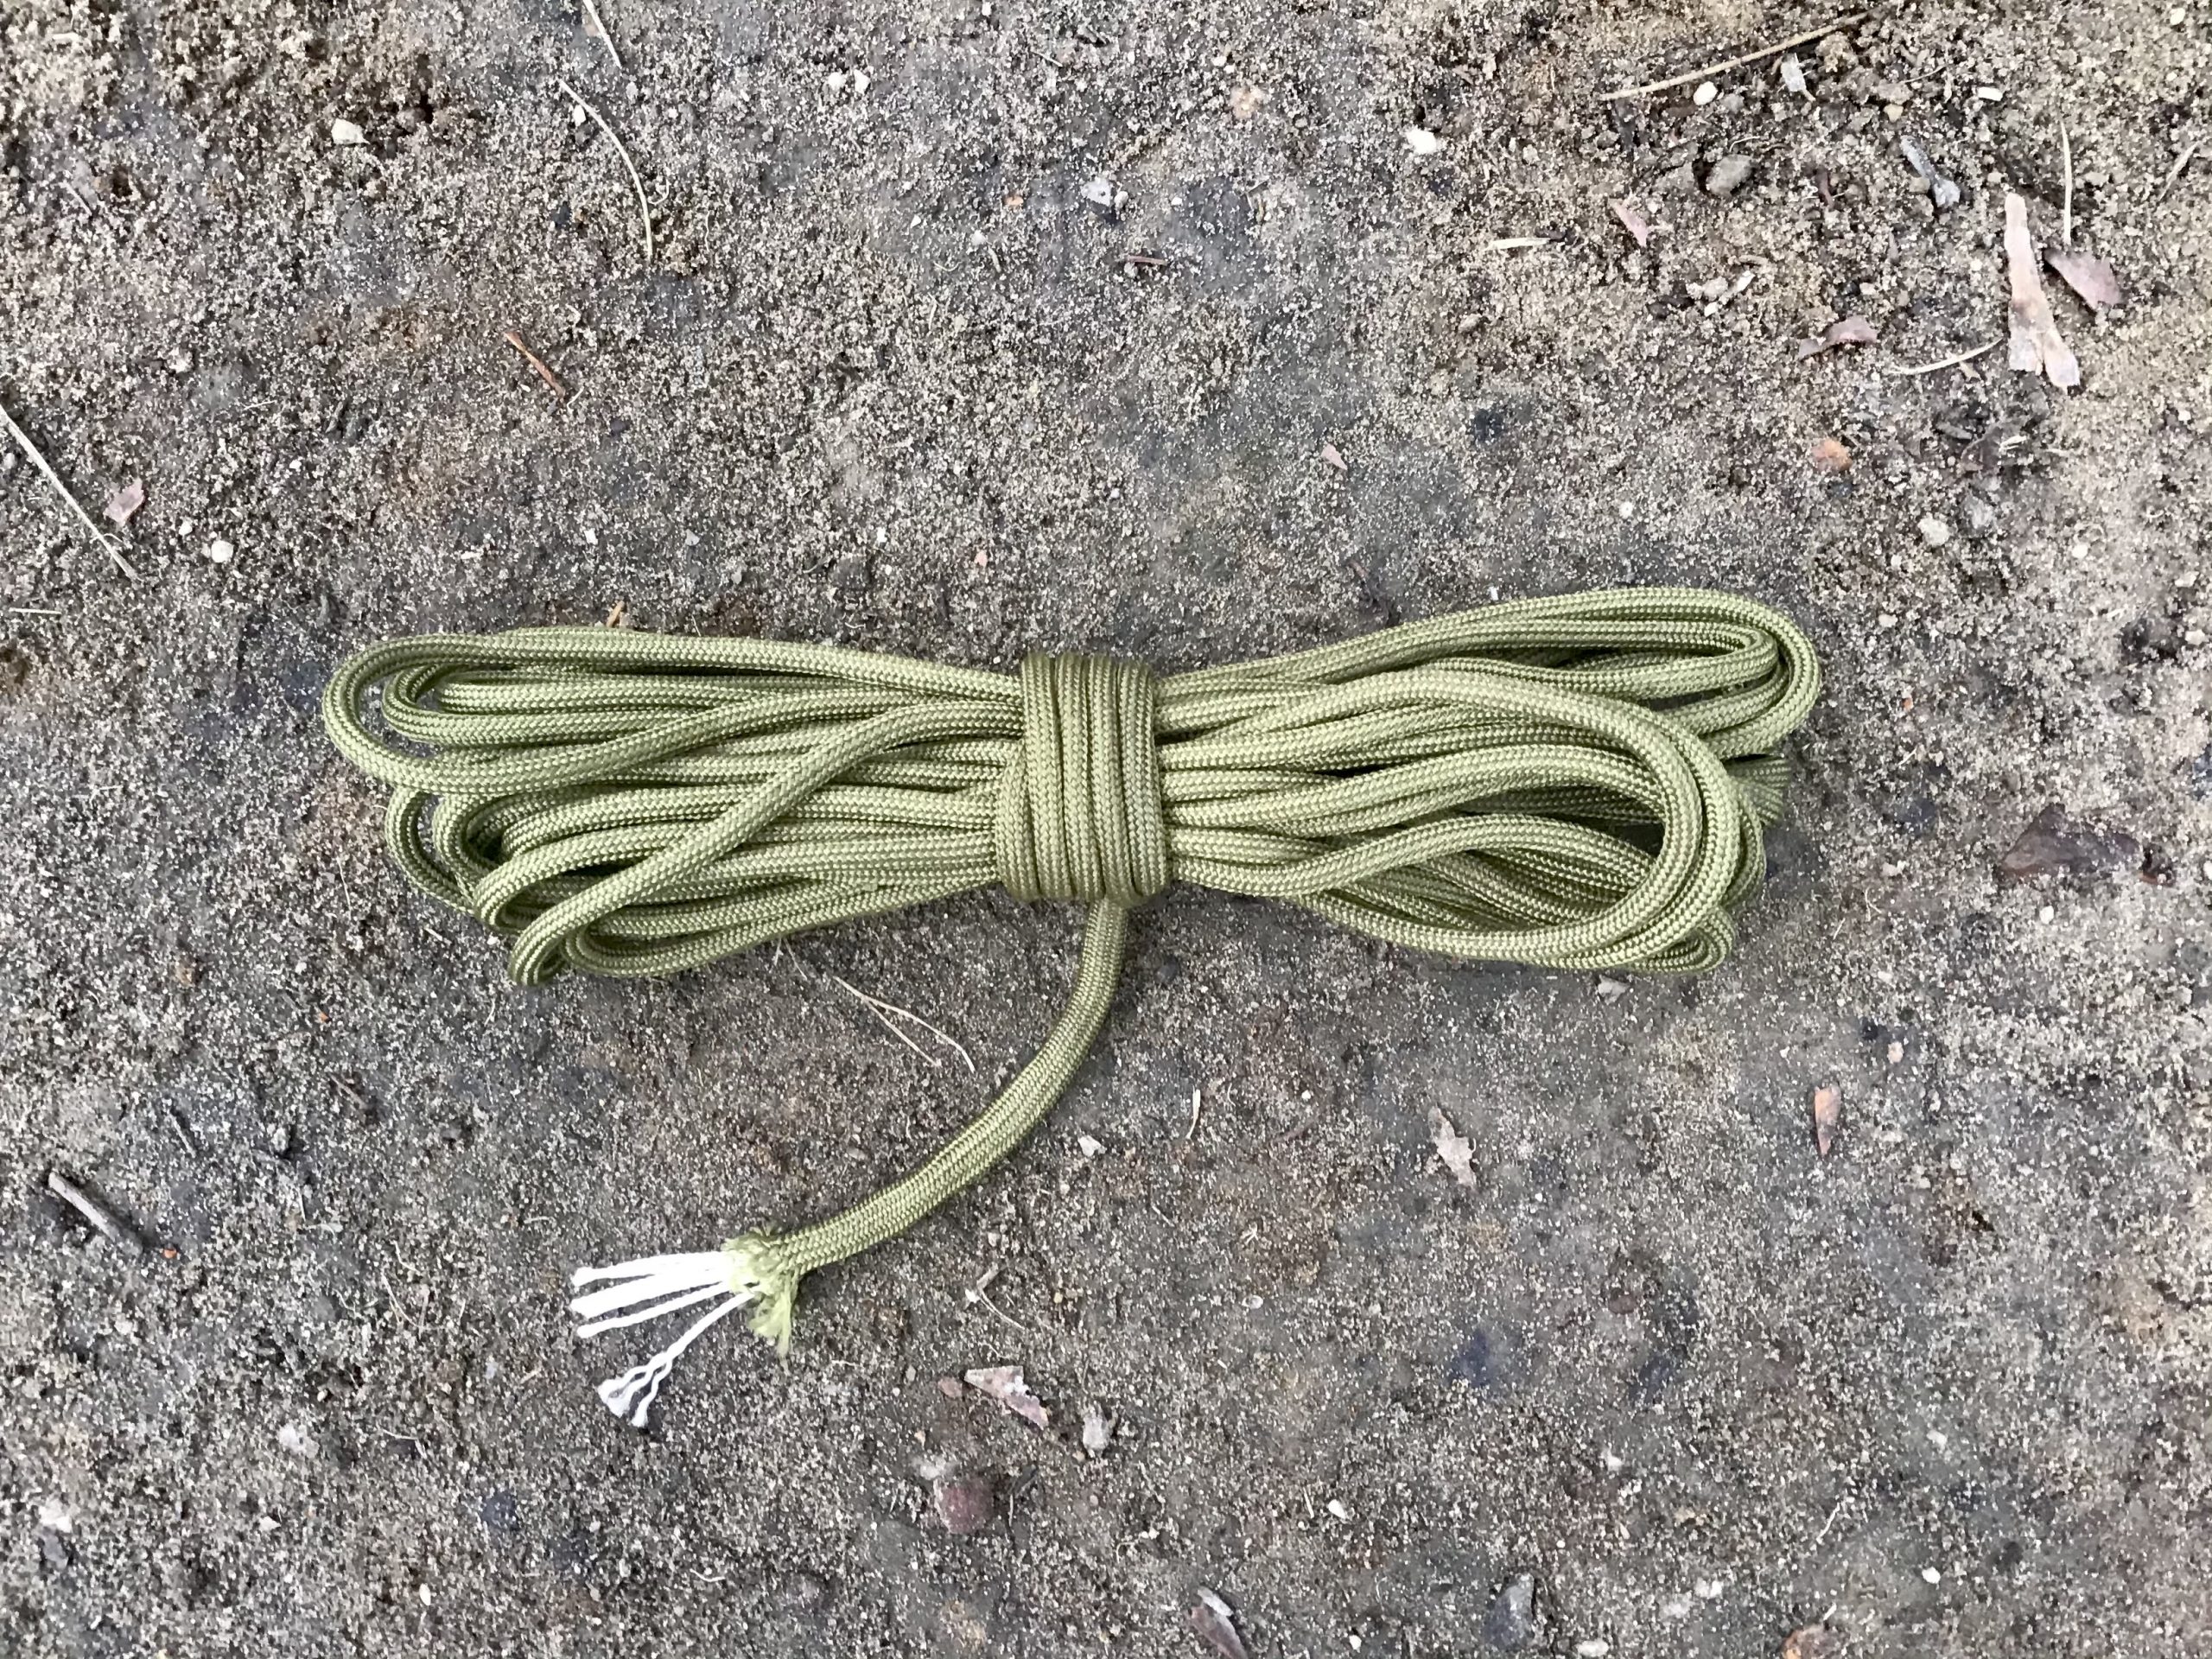 550 Parachute cord with 7 inner 2 ply strands
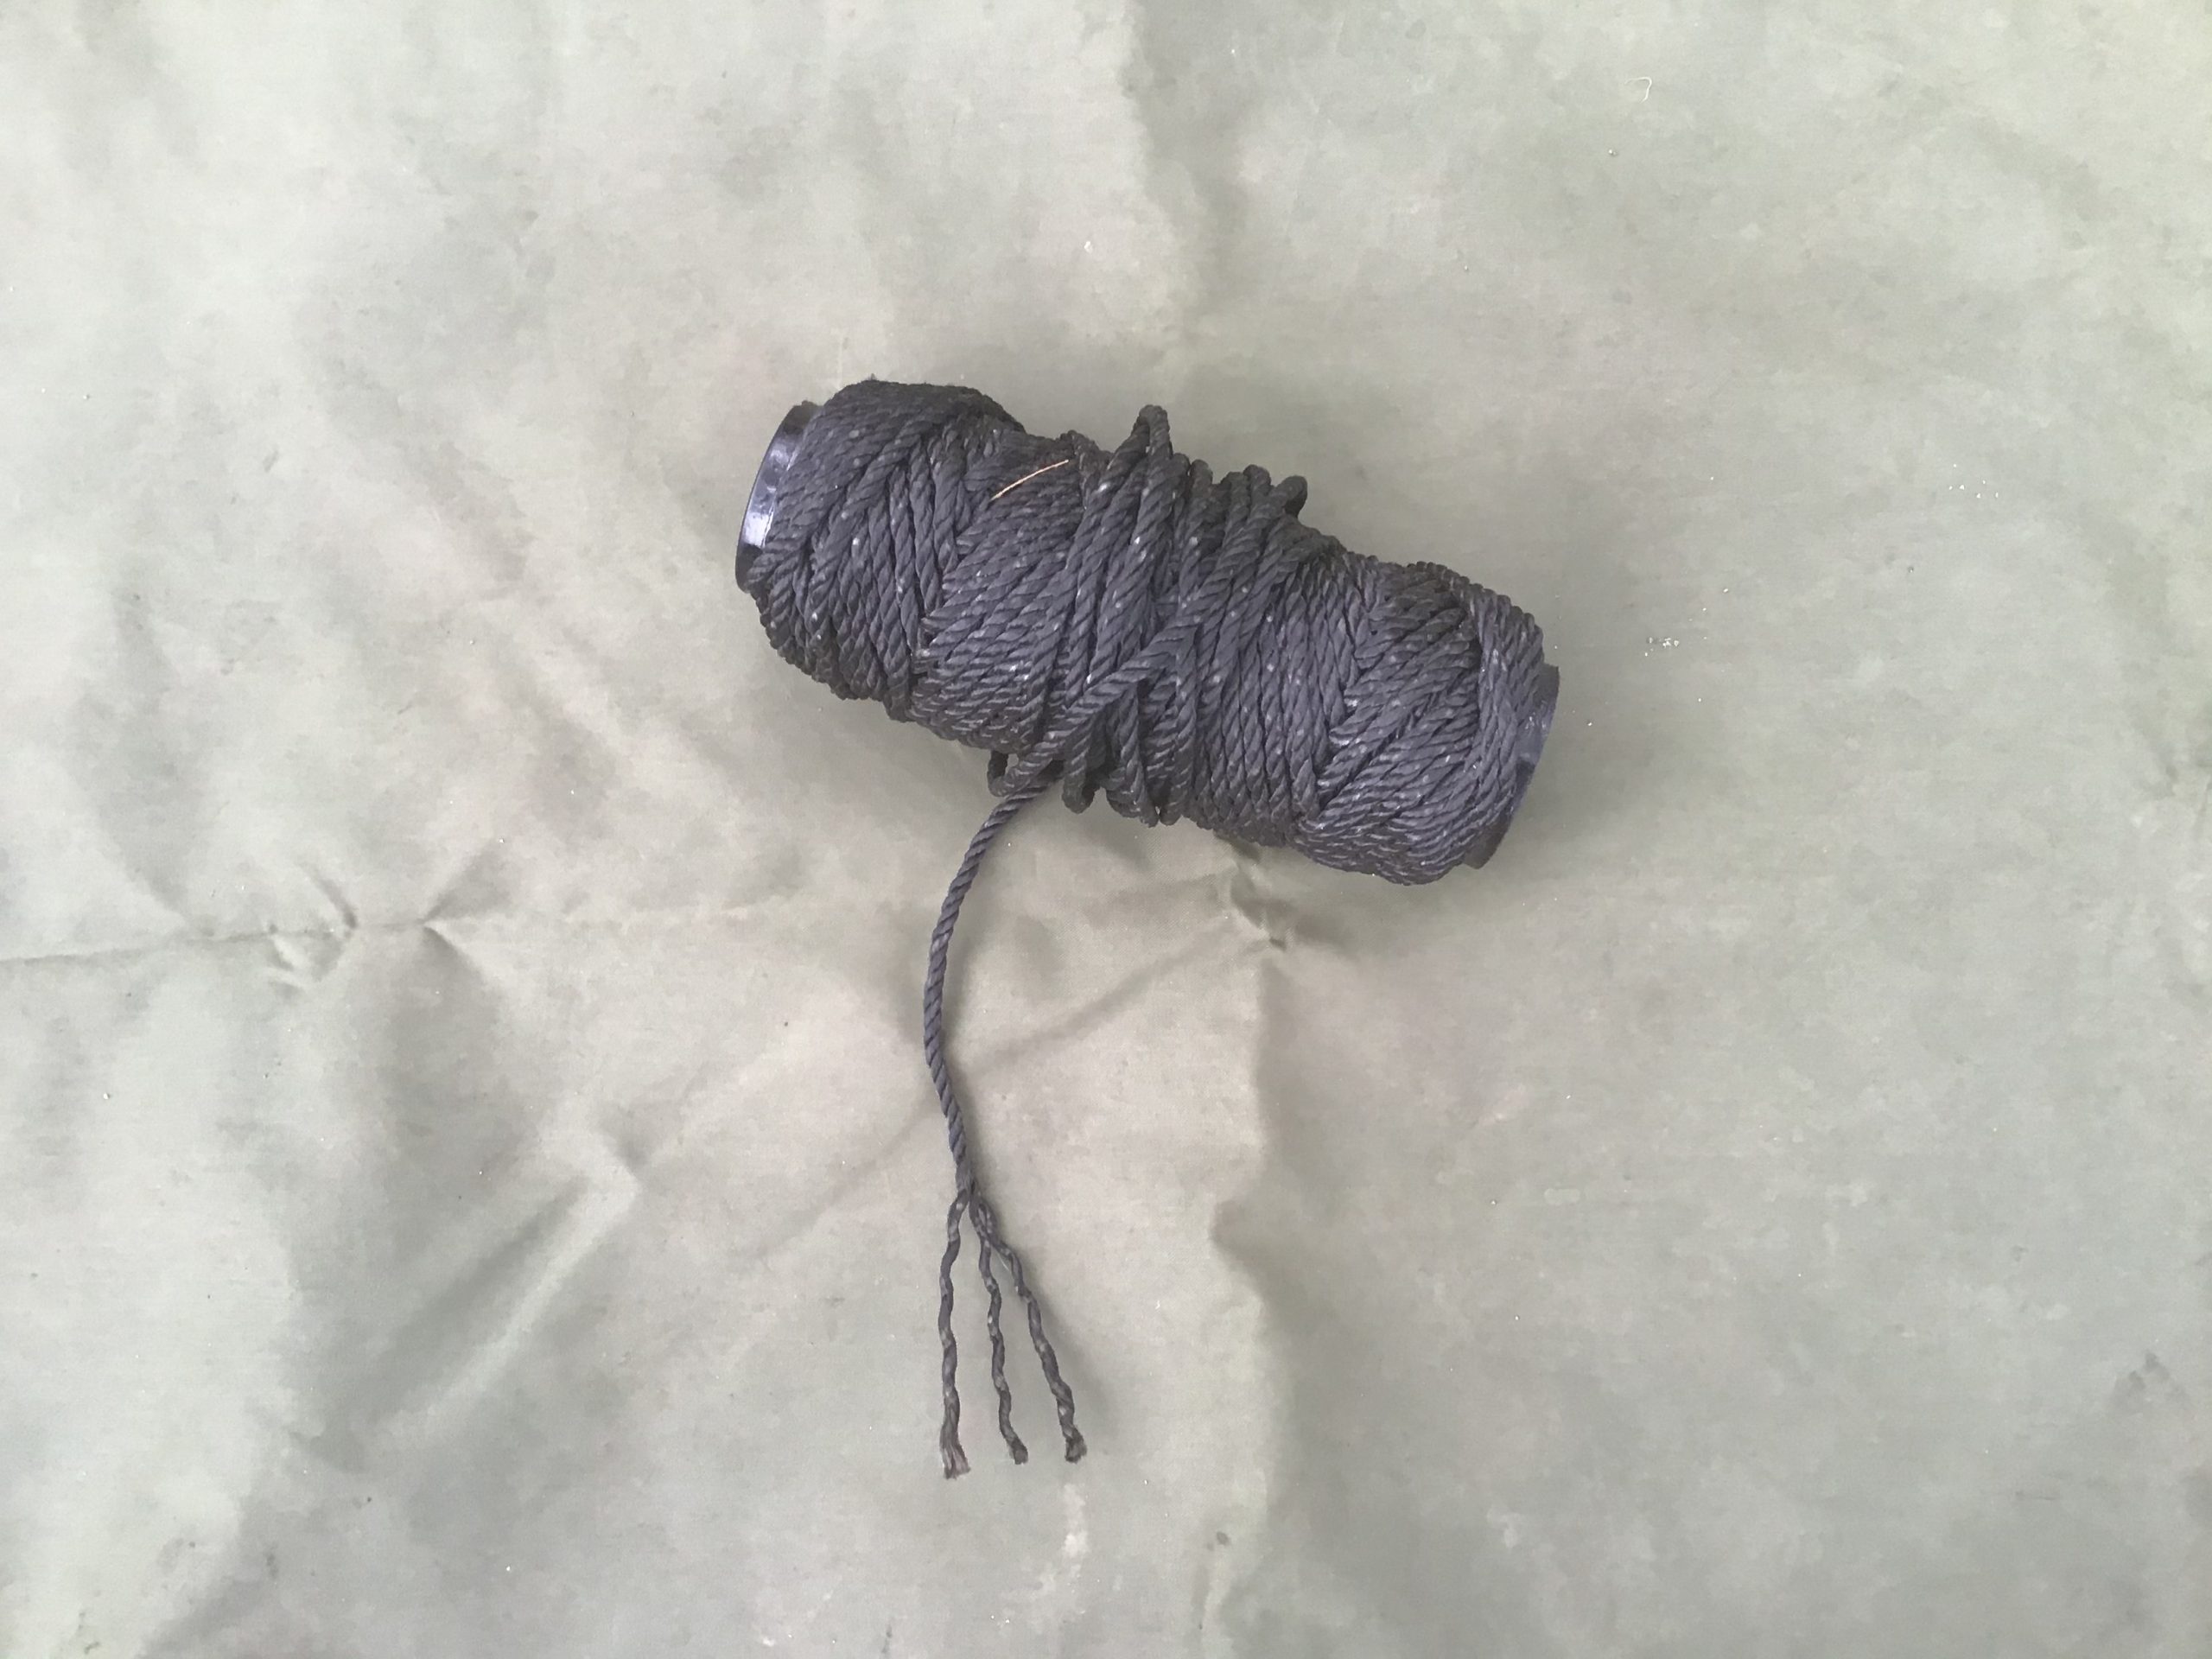 Small roll of #36, 3 ply bank line
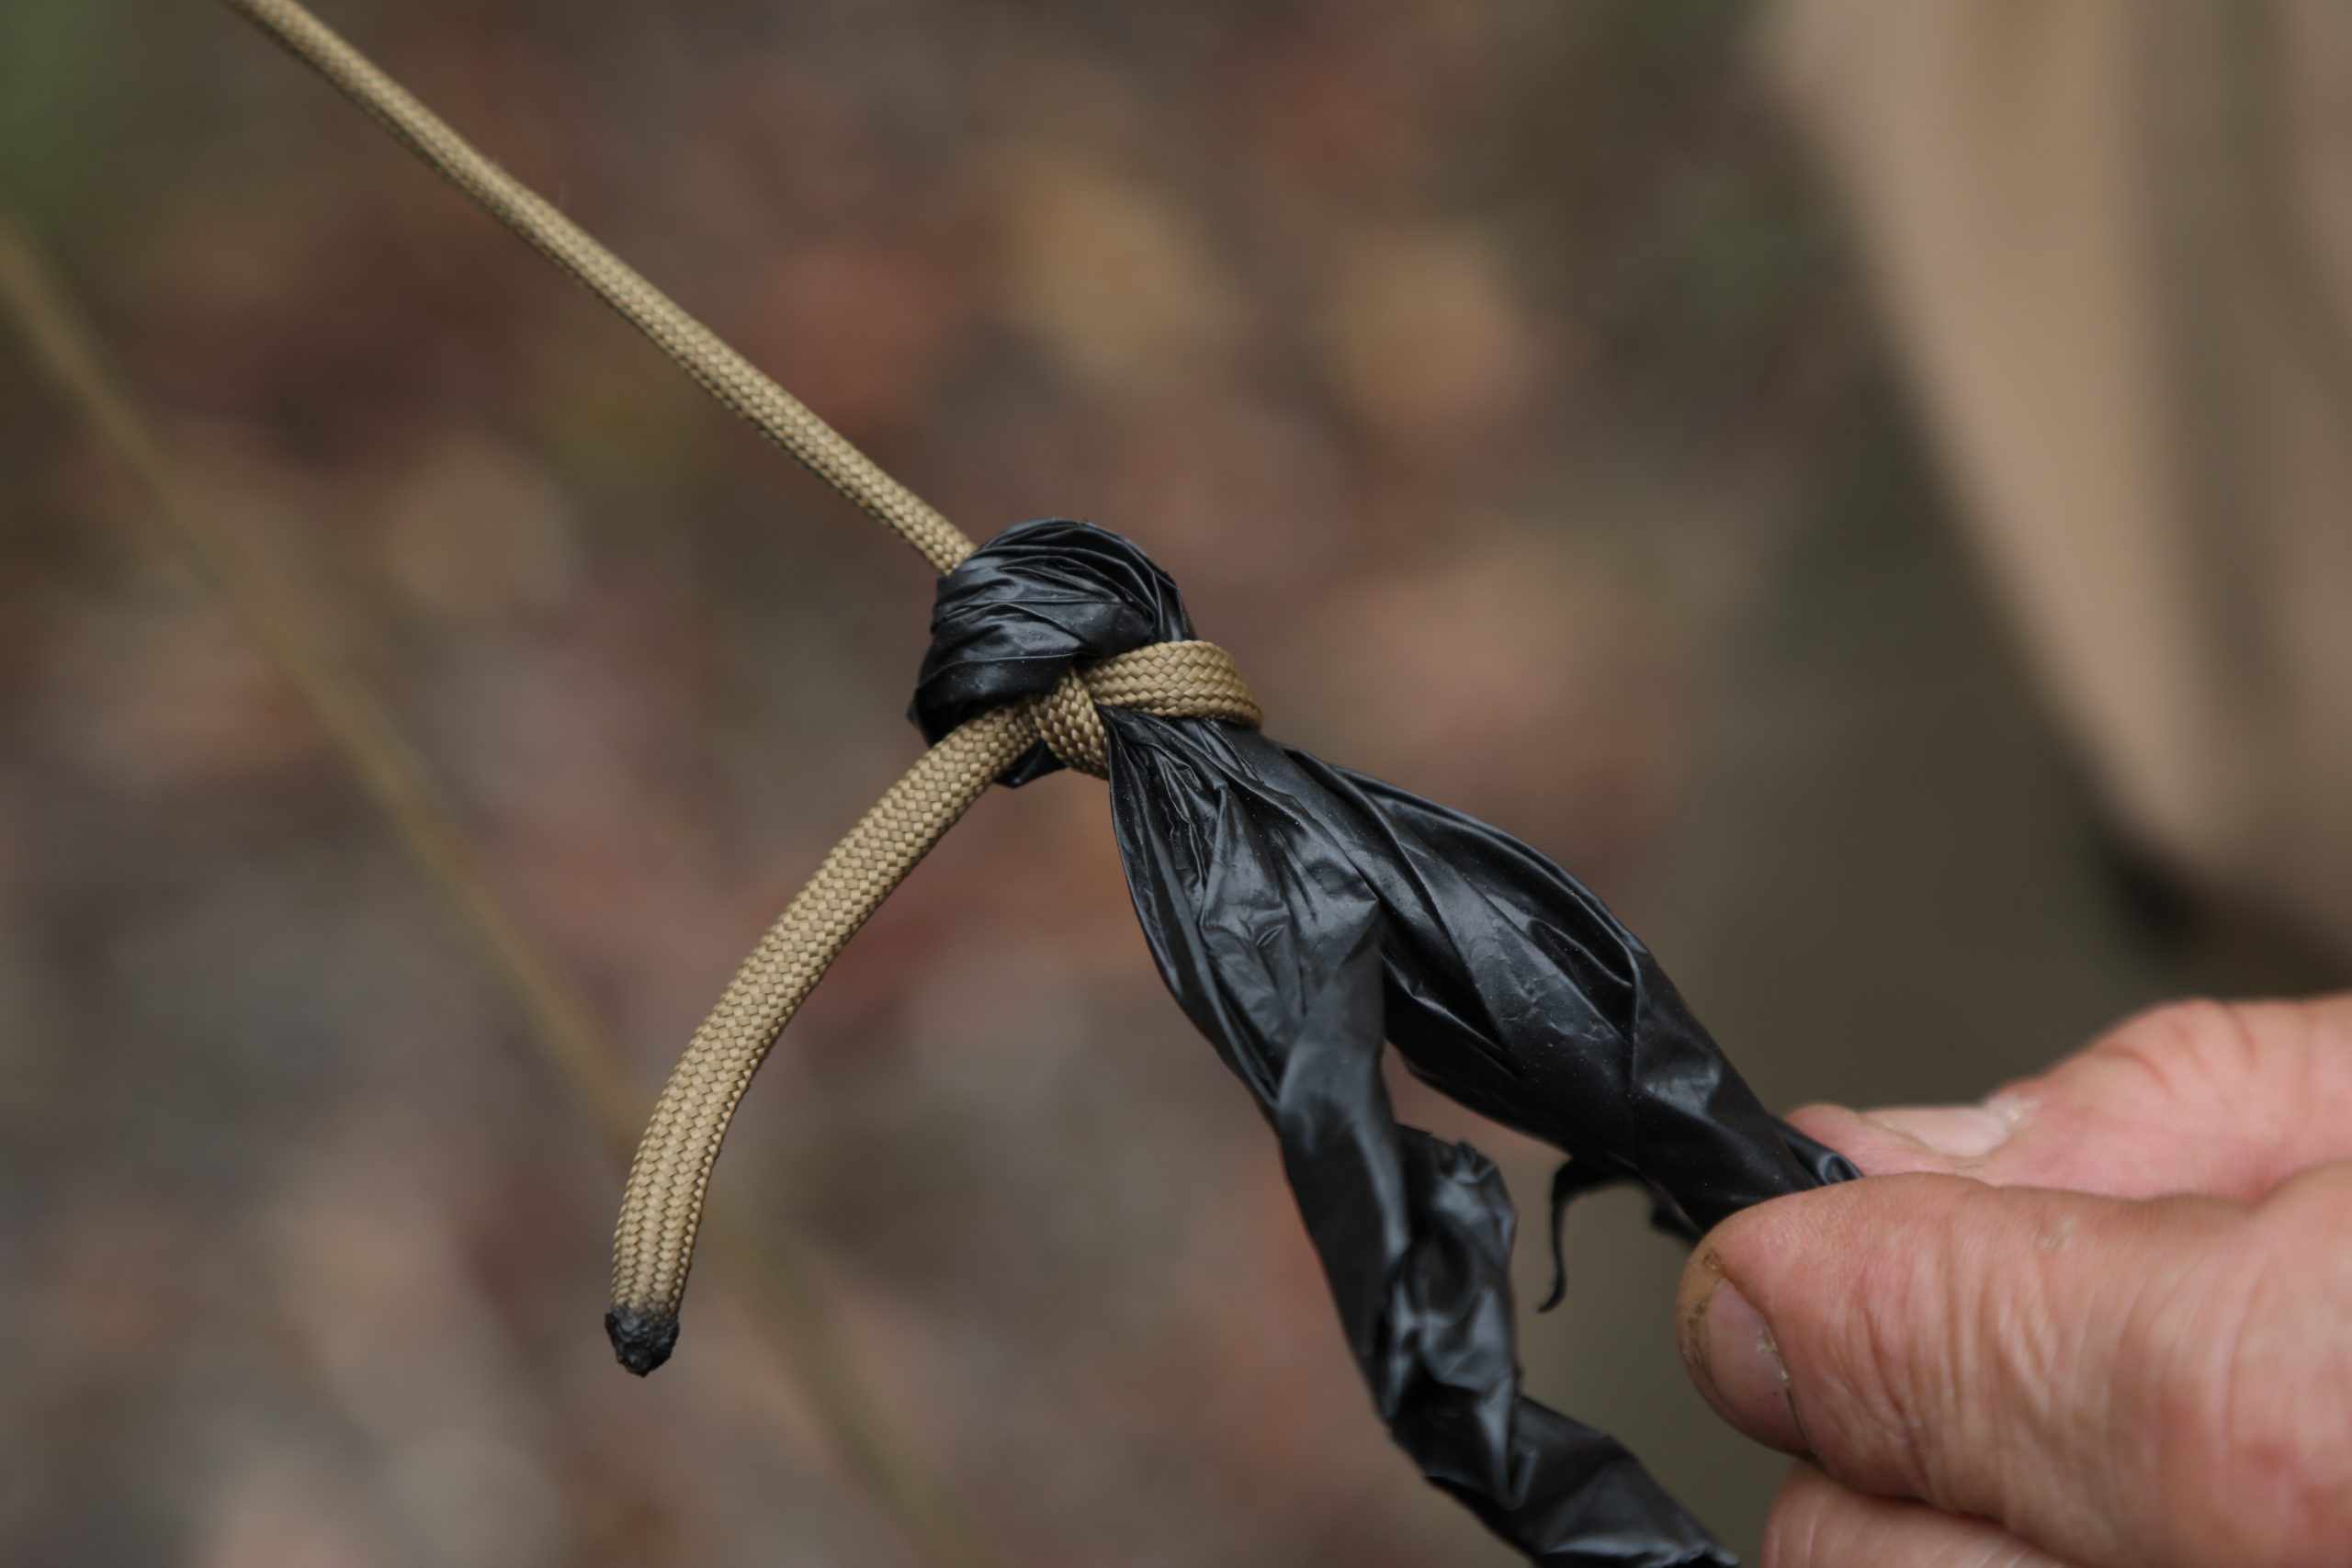 Sheet bend on plastic
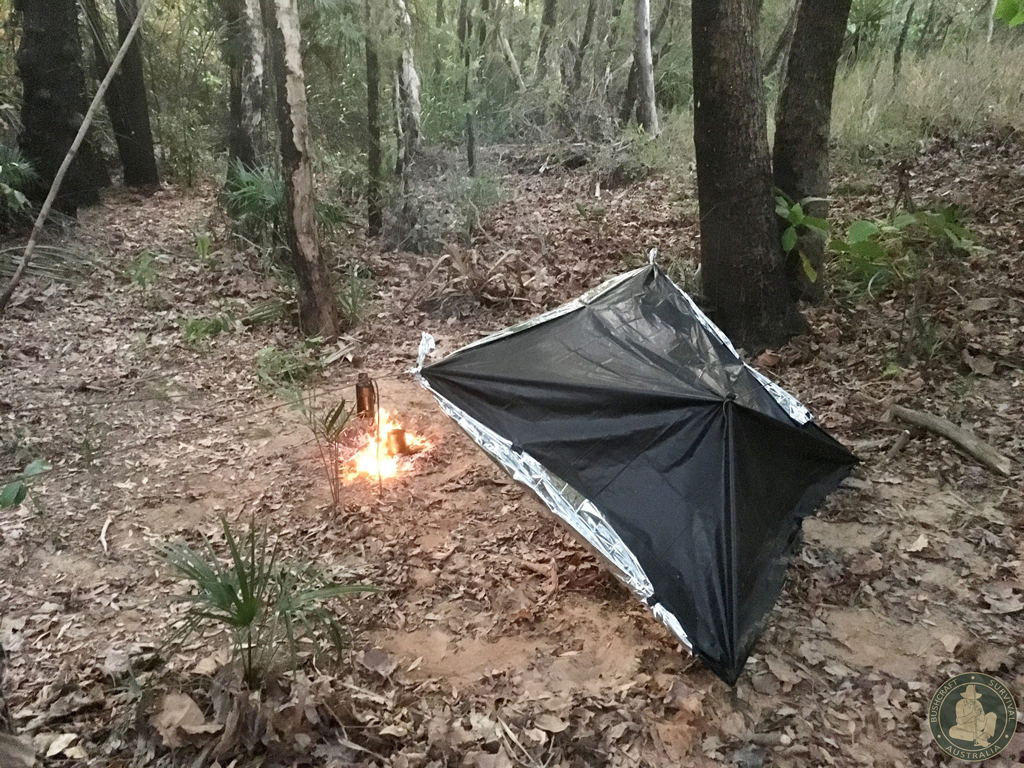
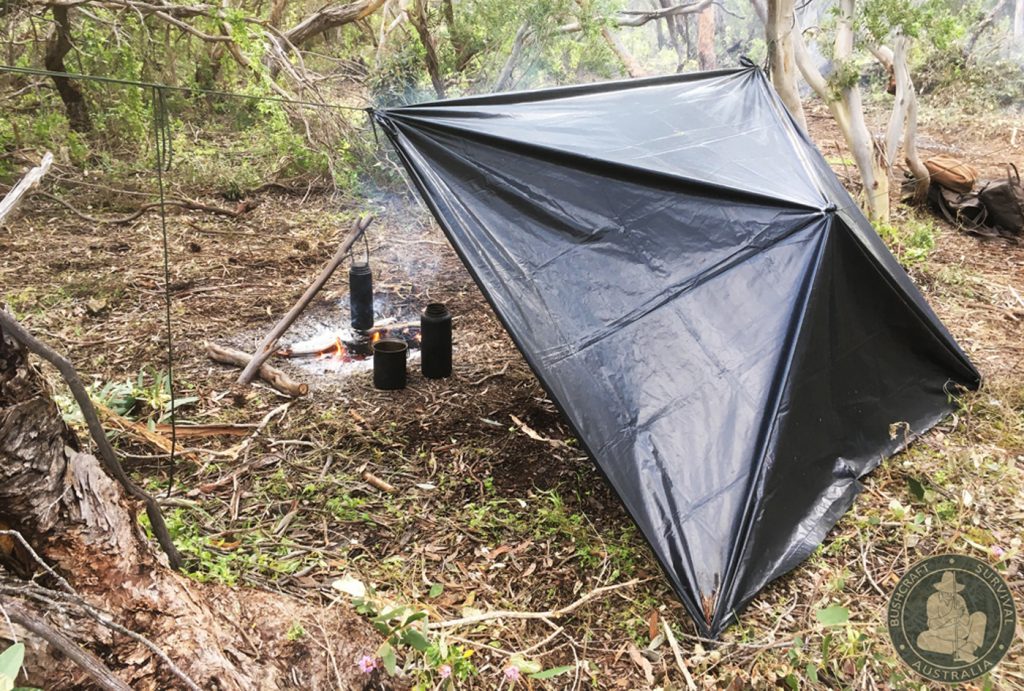
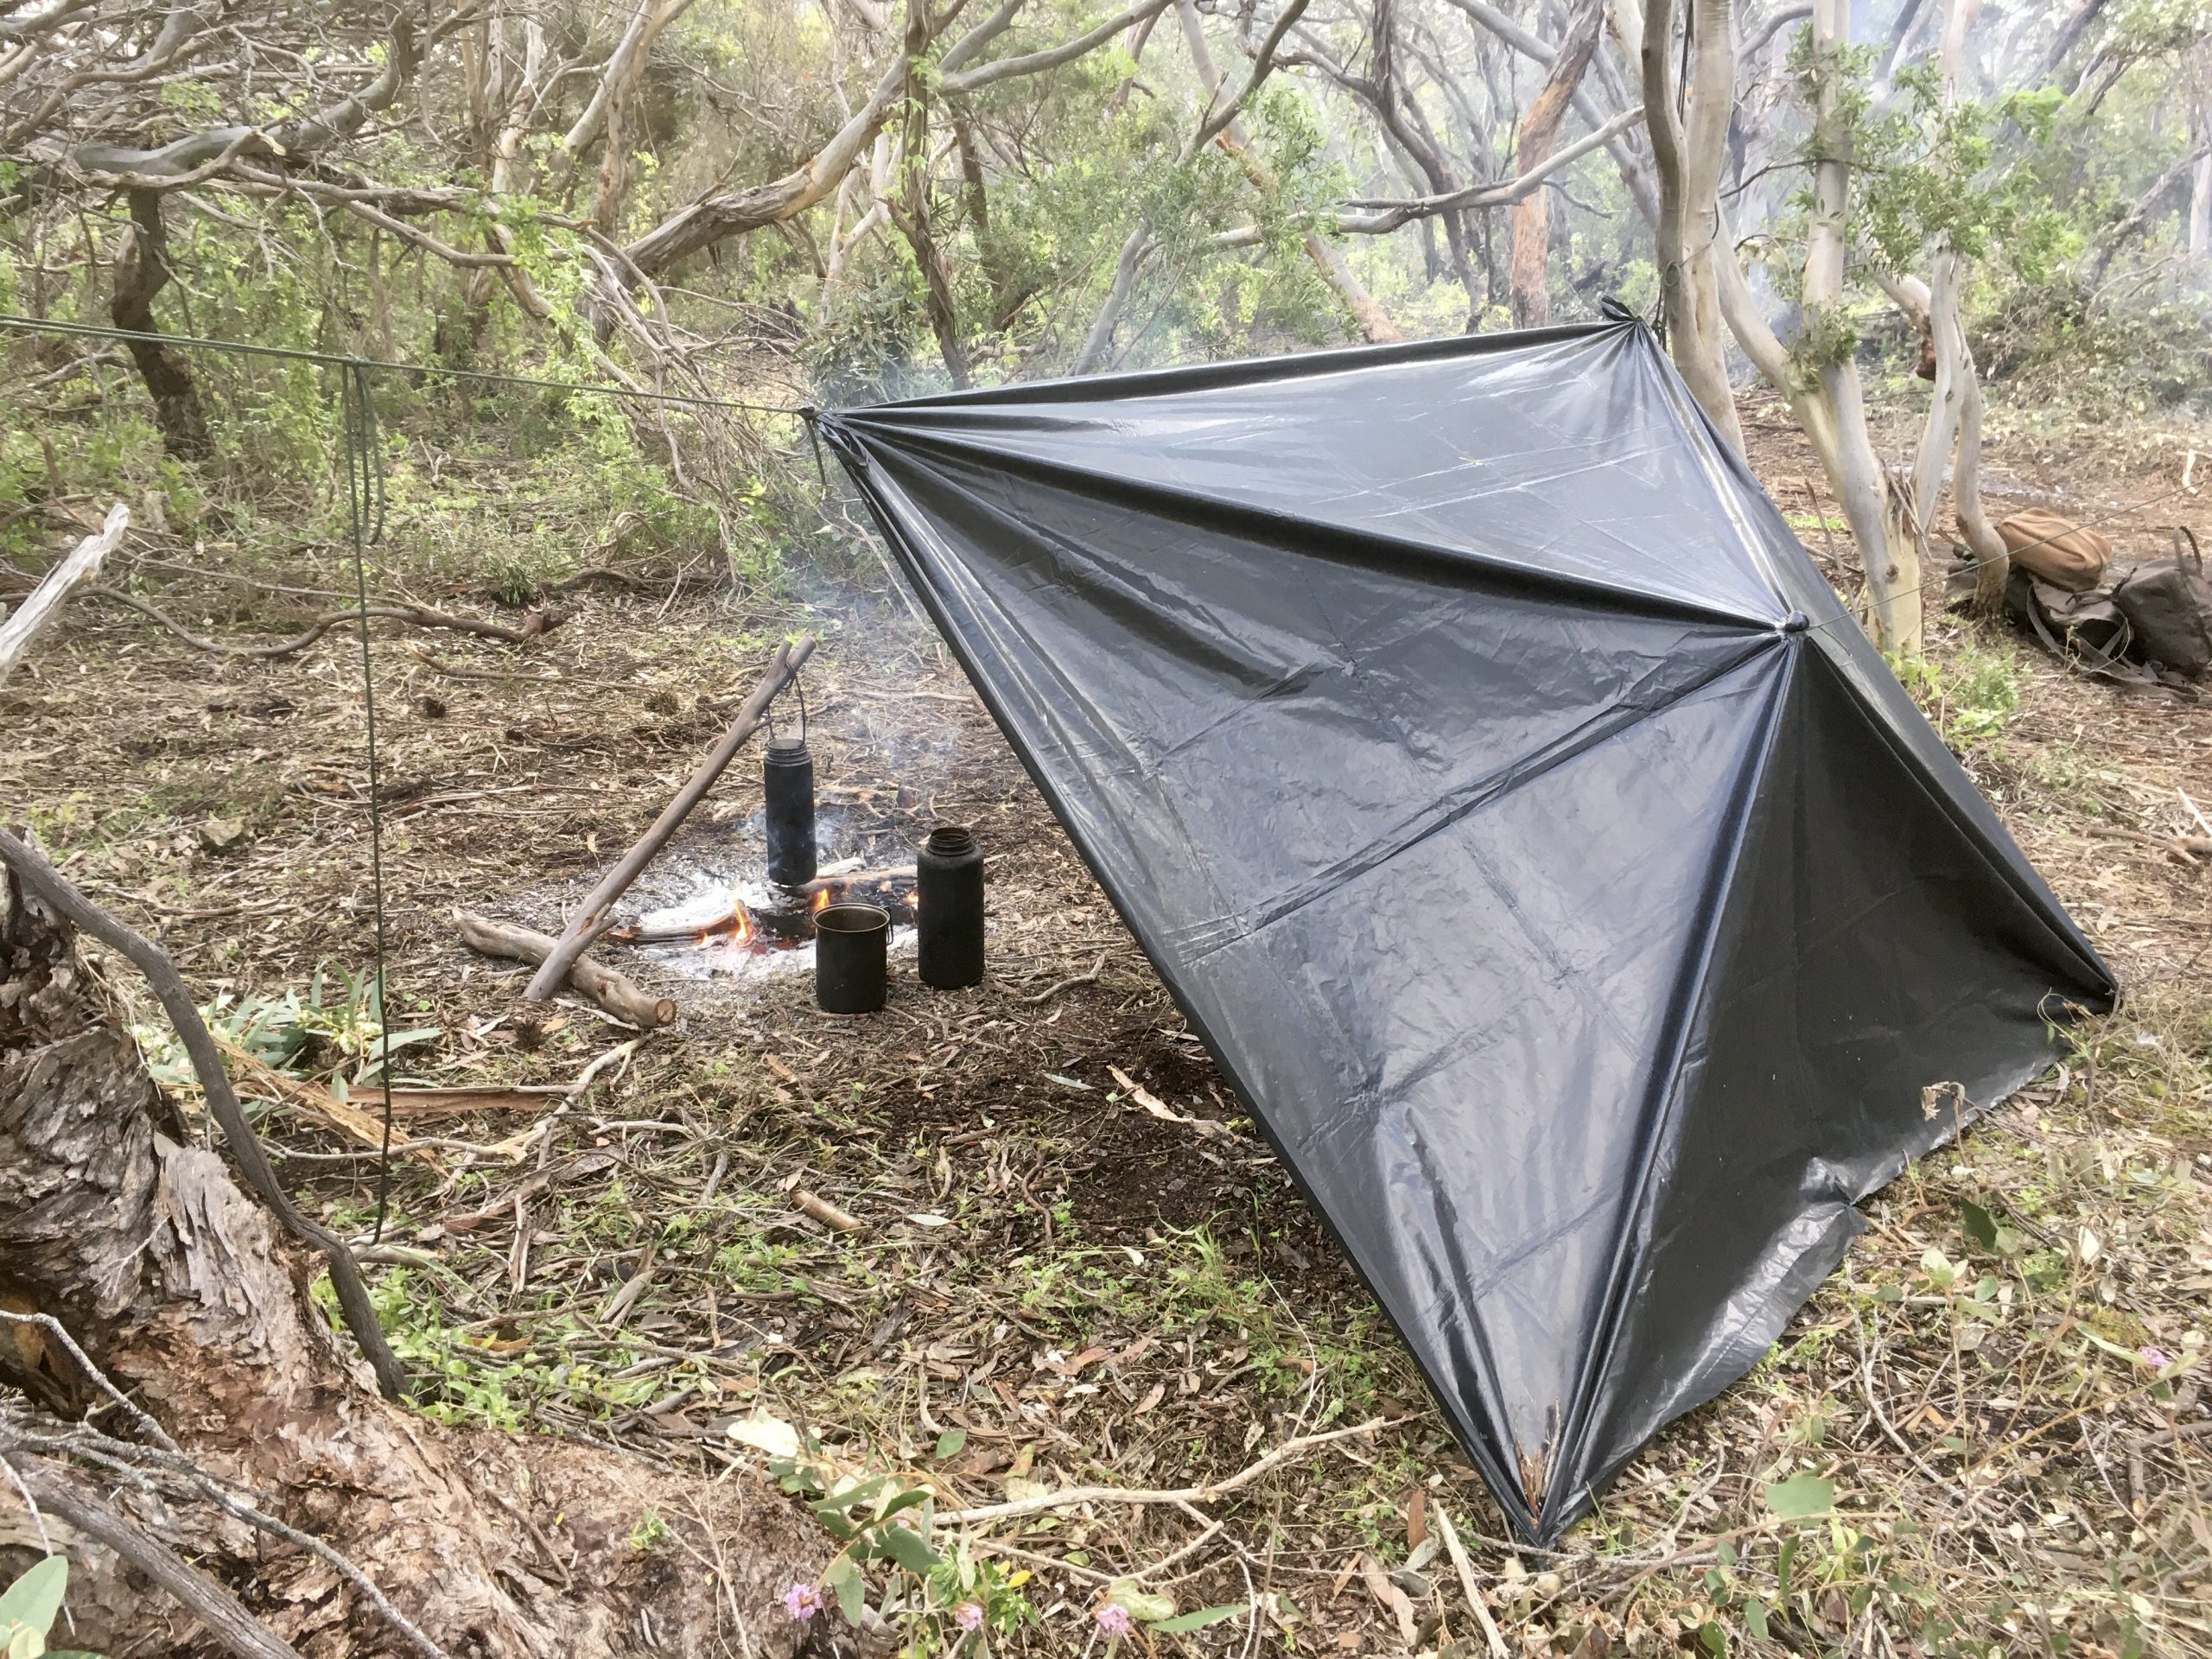 Sheet bends used to secure the corners of an emergency garbage bag shelter. A bush button using a clove hitch is used in the centre.
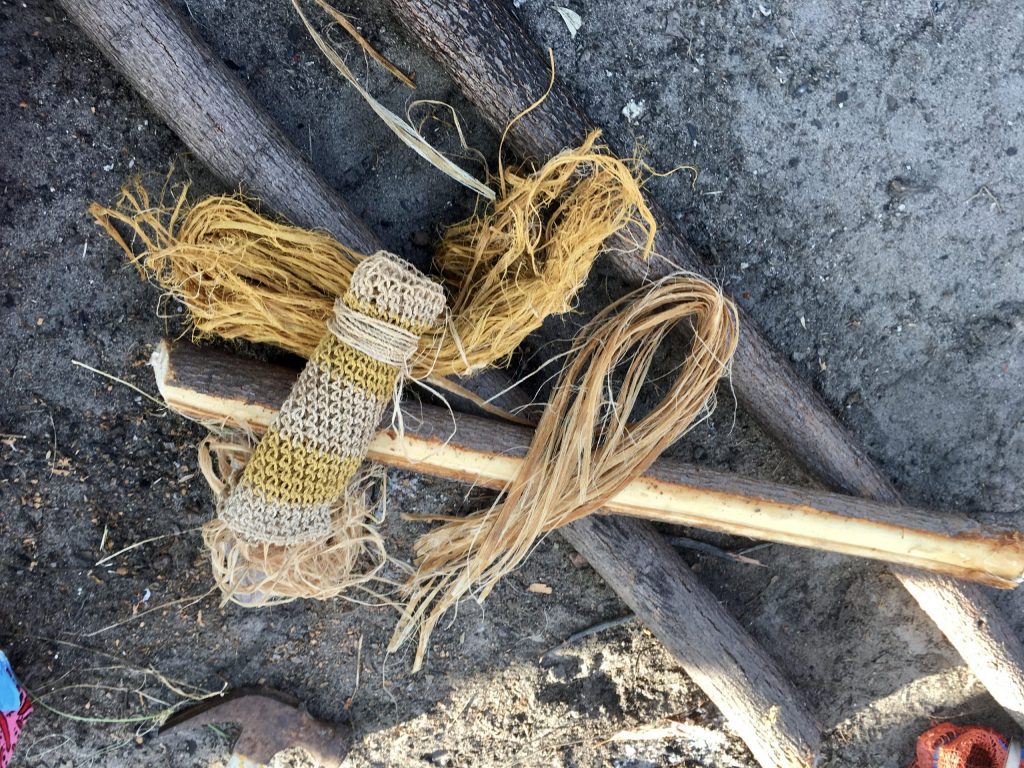
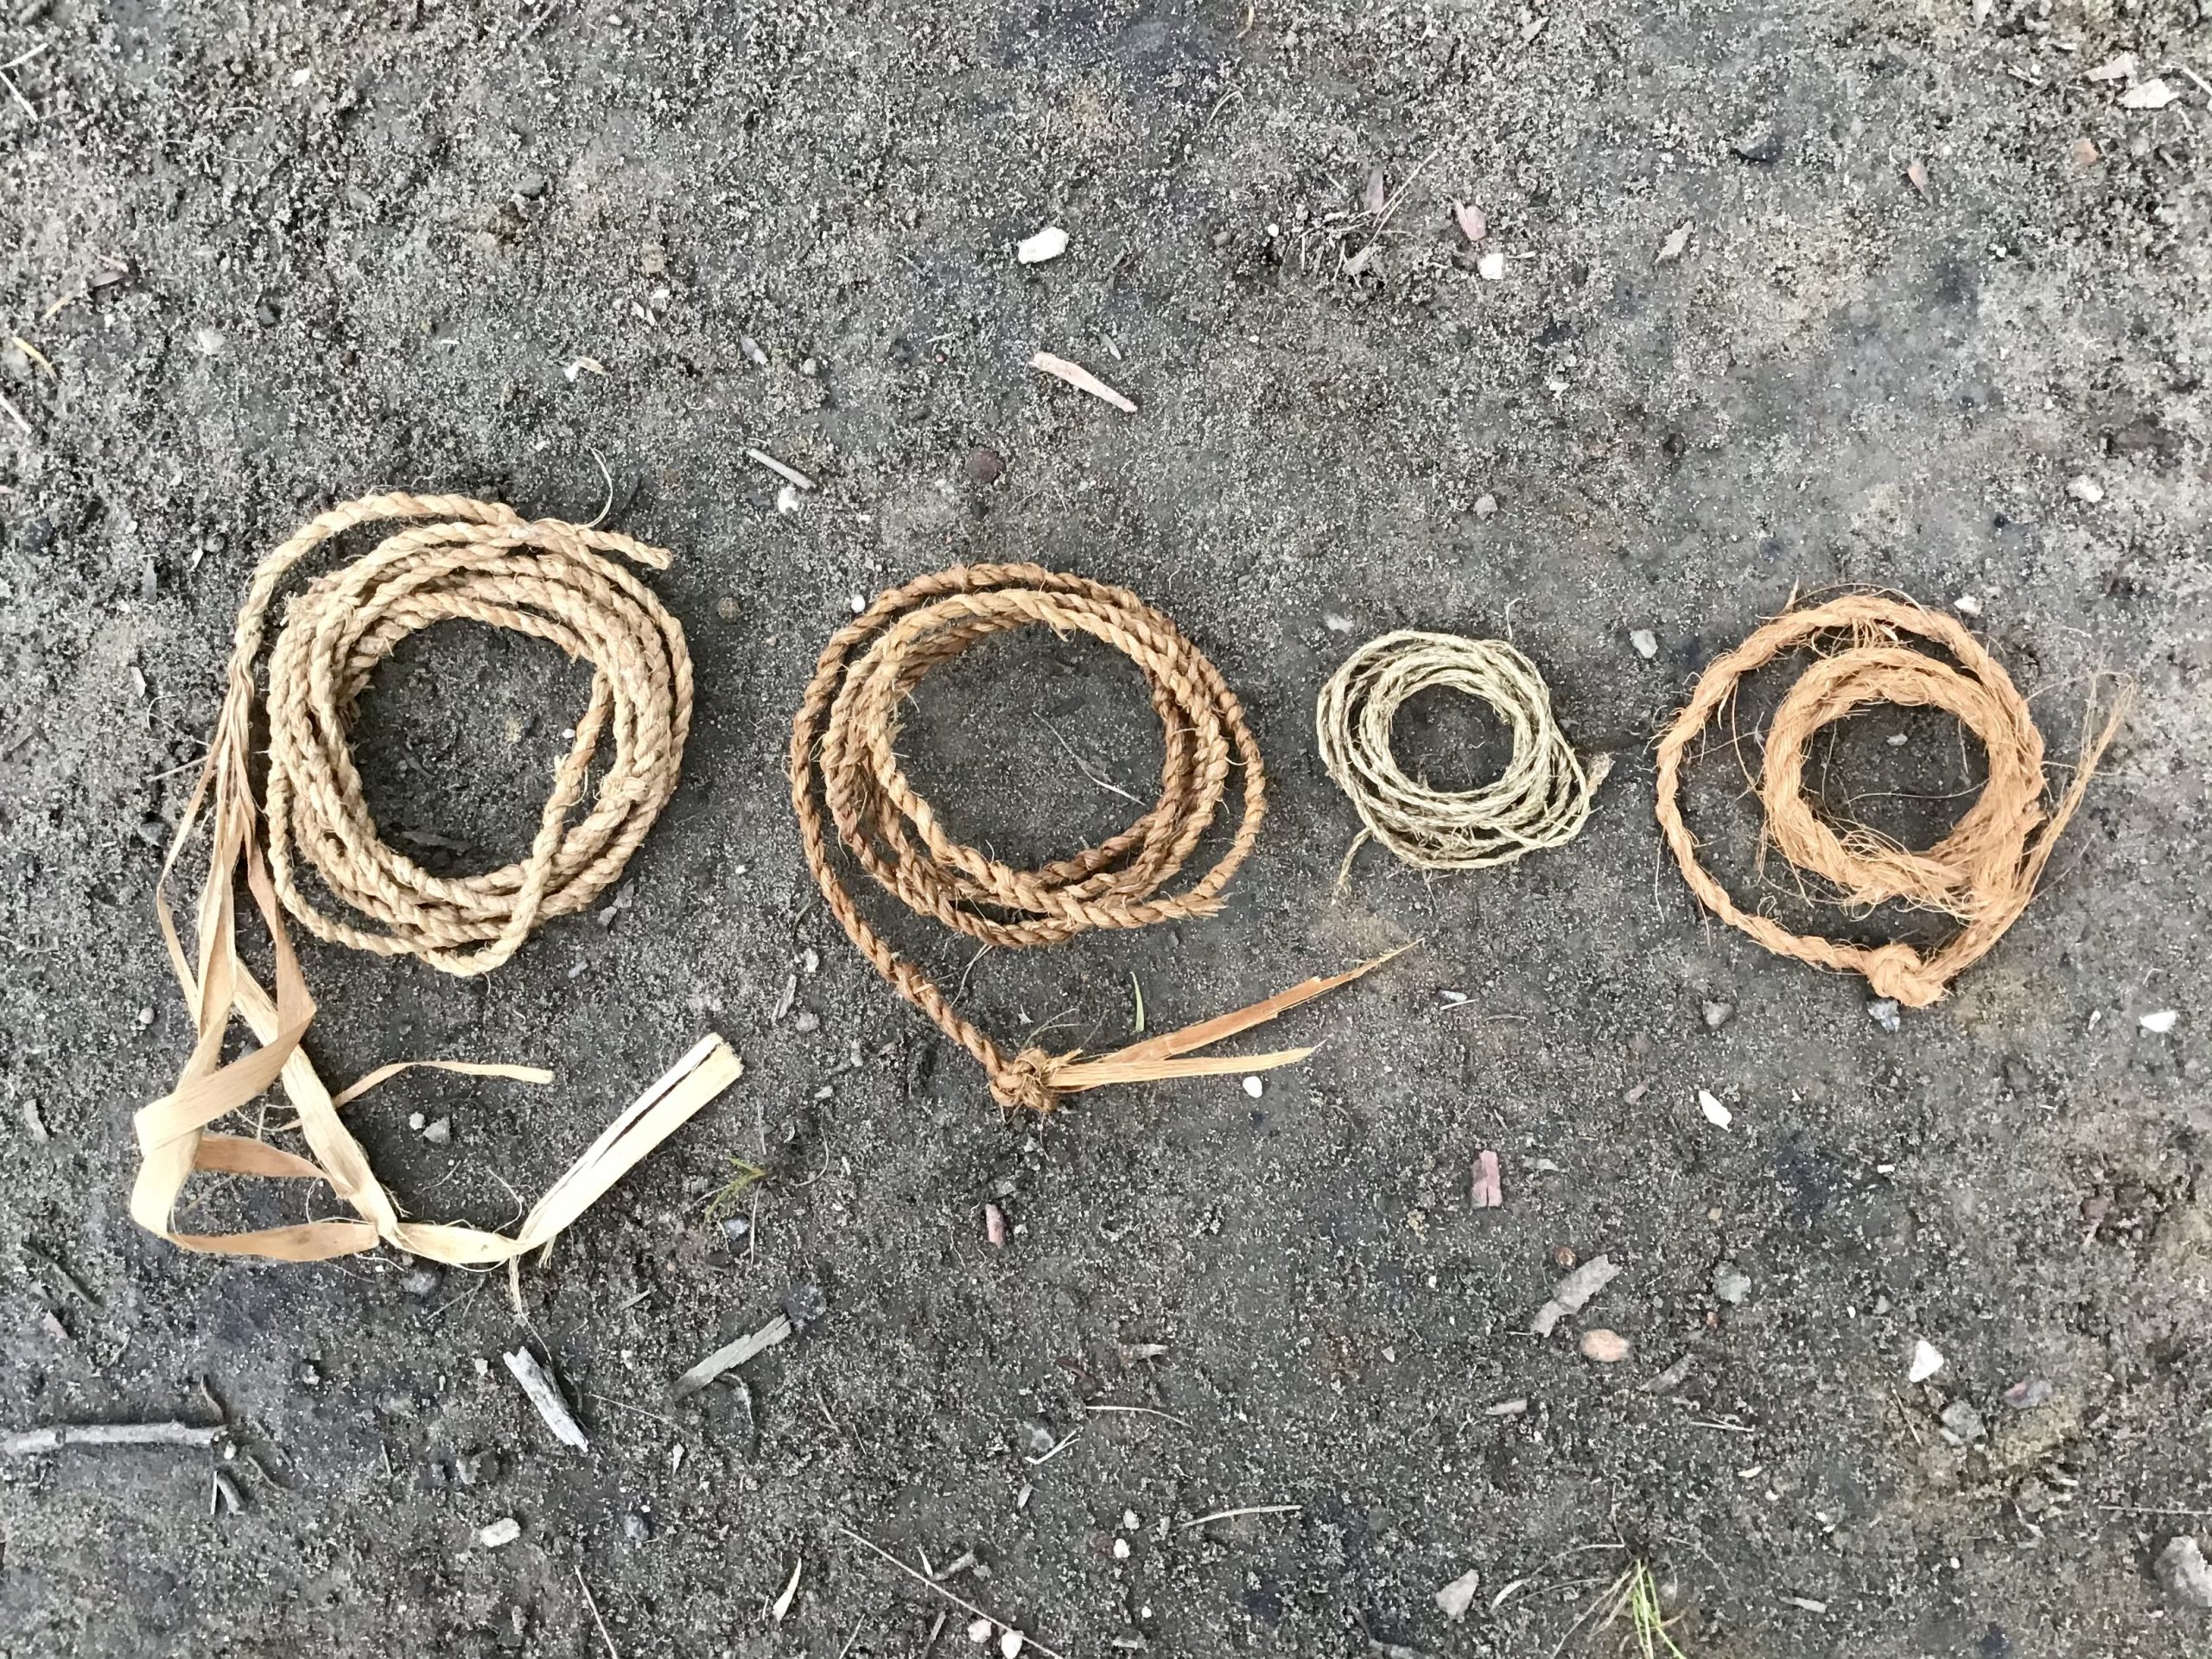 Cordage made from the inner bark of coastal hibiscus, sweet wattle and the fibres of sand palm and coconut husk.
 Fishing twine made with dogwood fibre and fish hook cactus, spruce roots, halibut hook lashed with split spruce roots and sewing thread and needle made from the fibres of an Agave leaf.
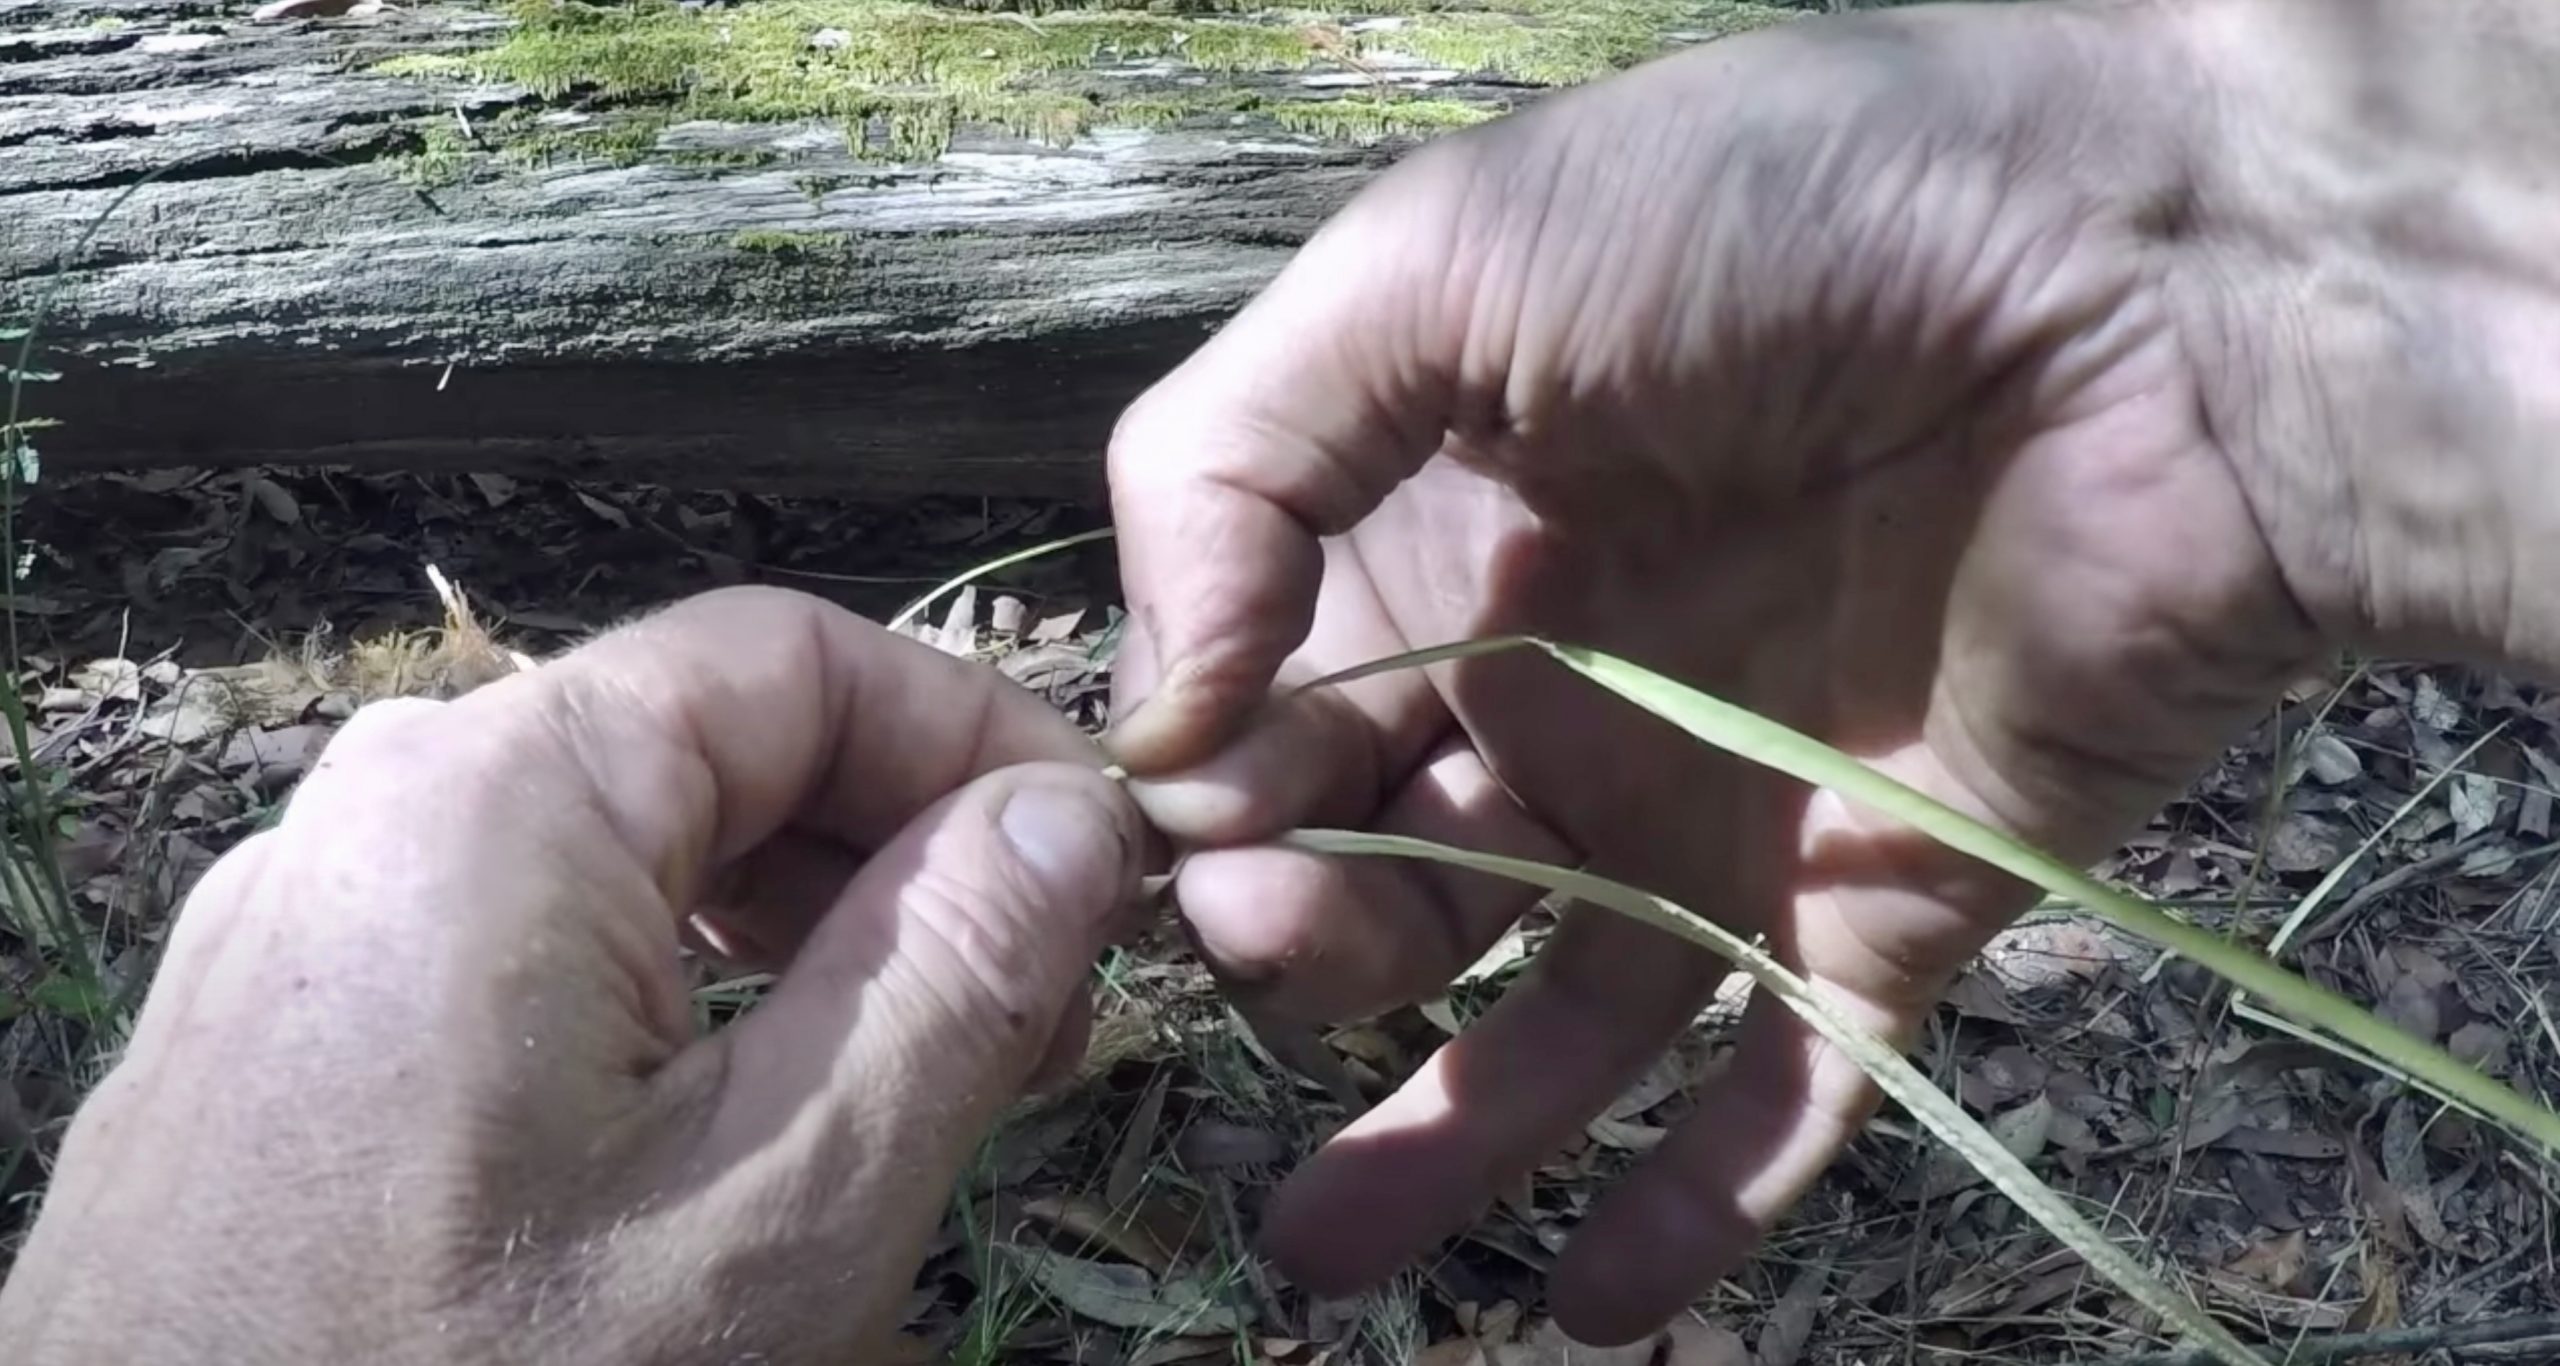 Twisting method
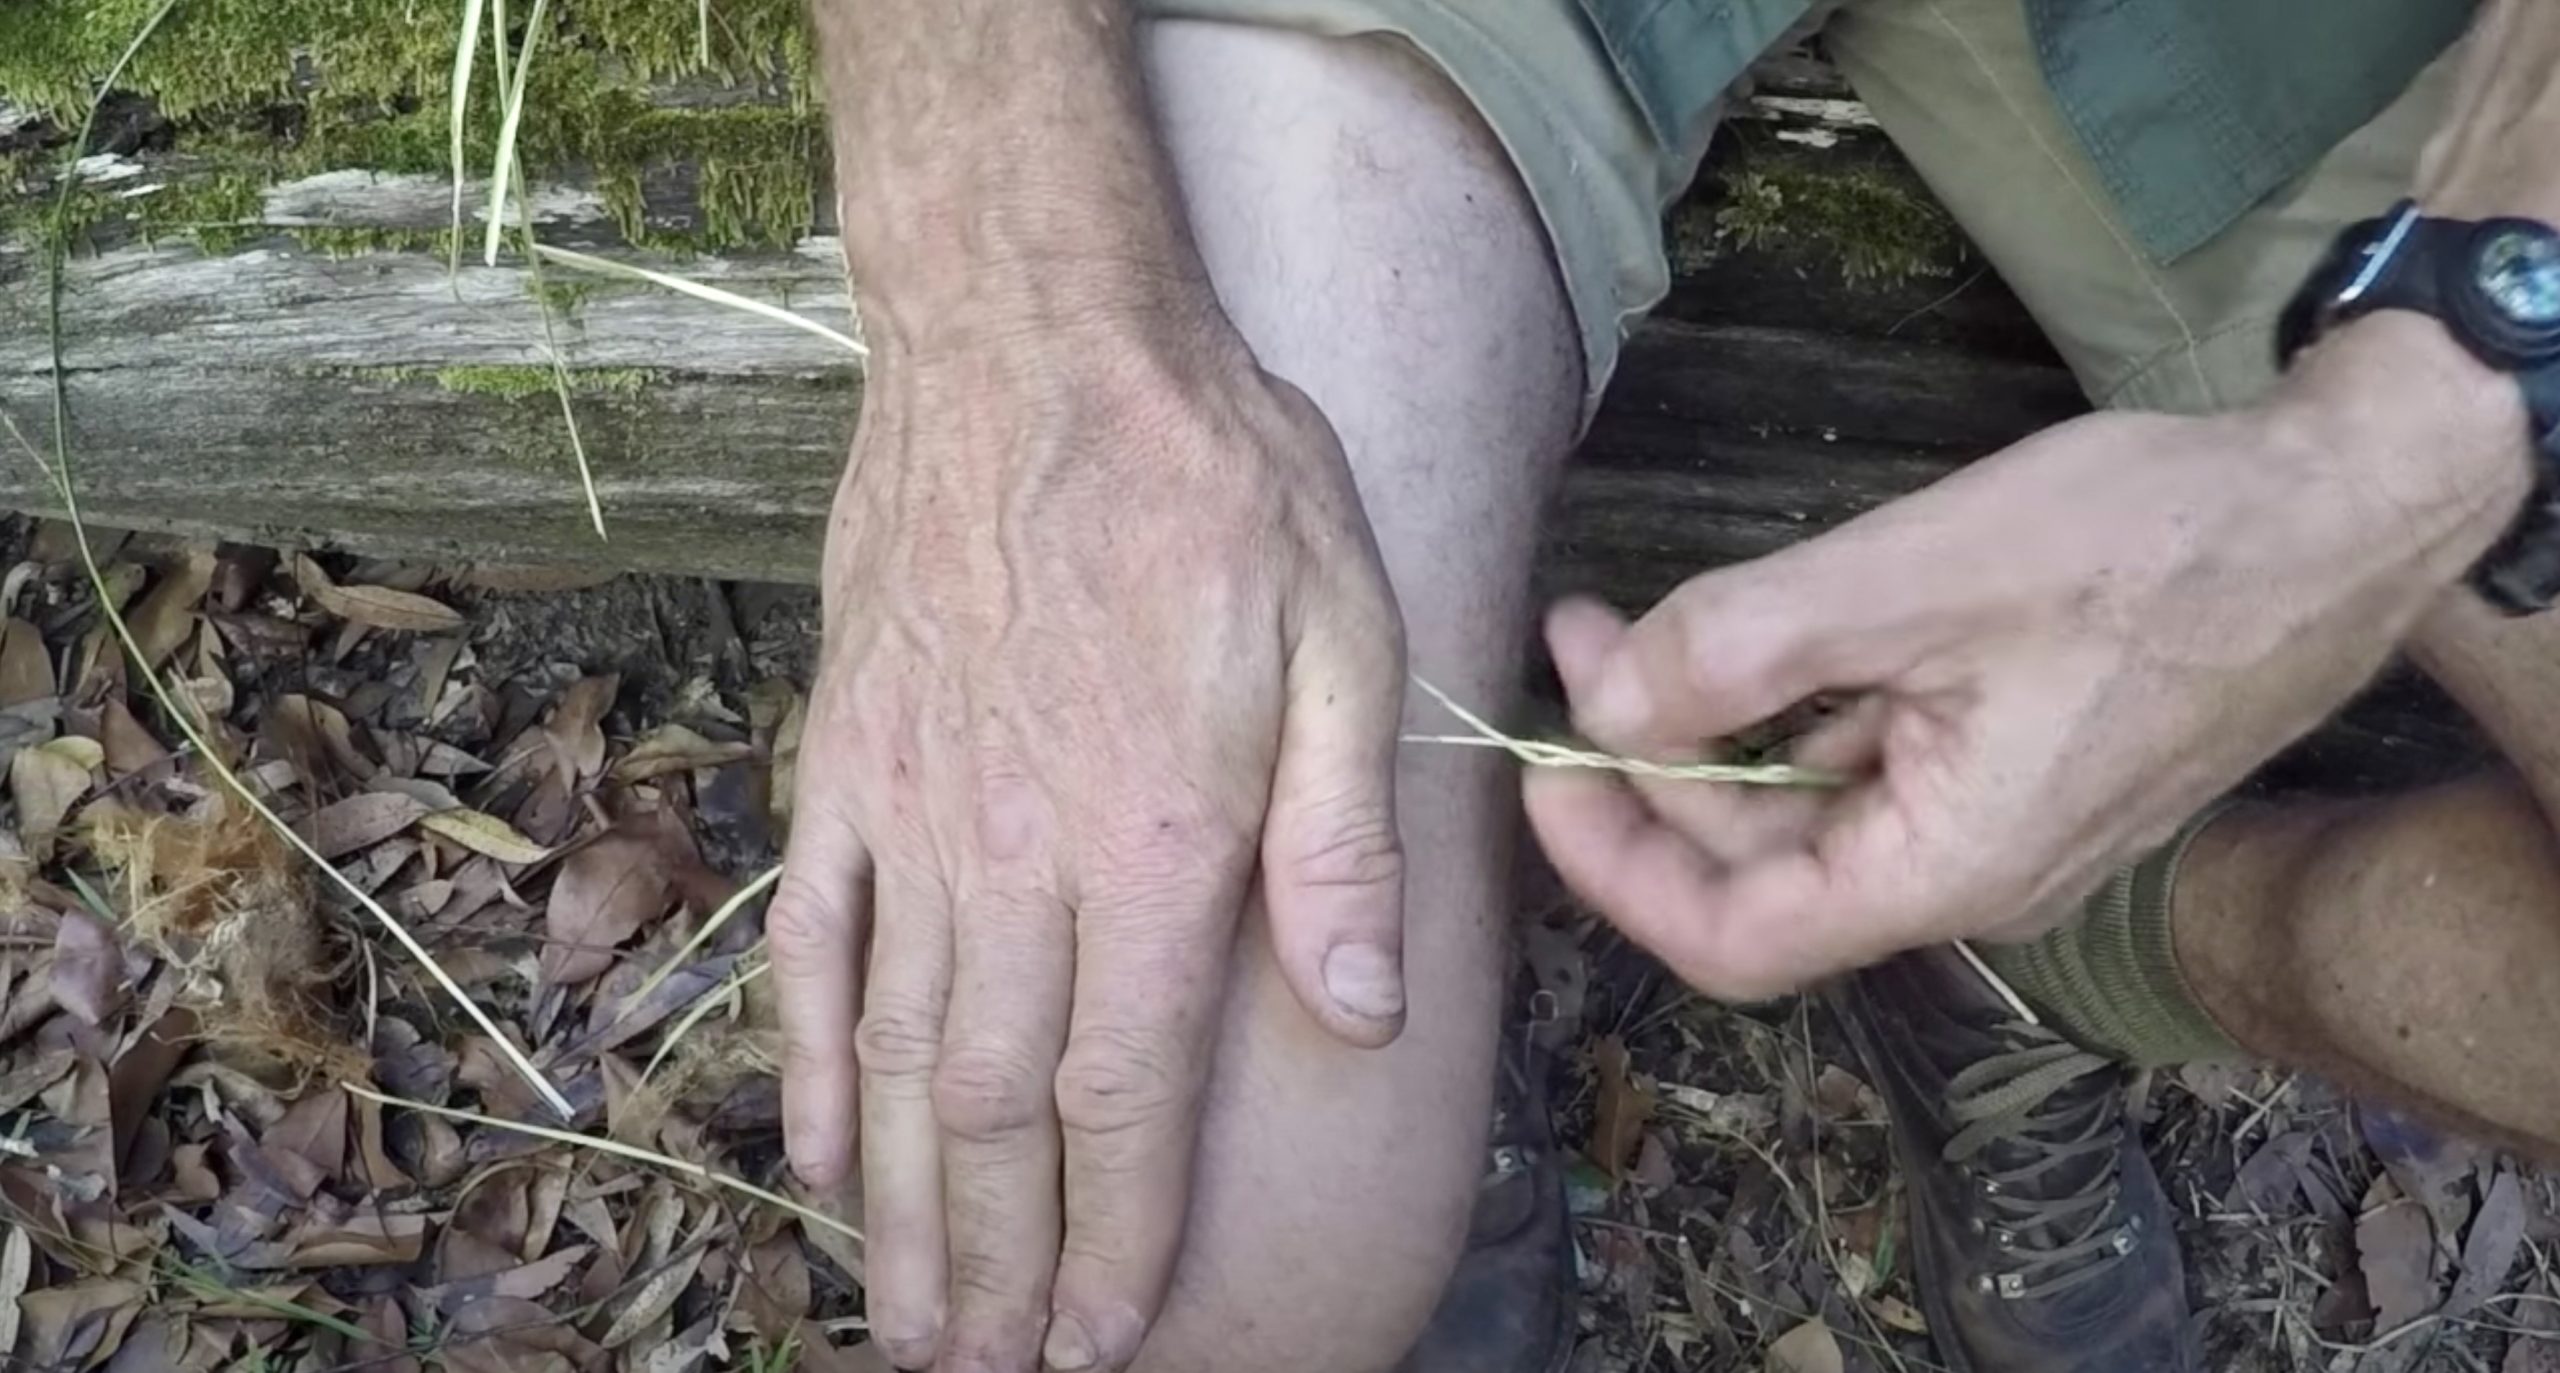 Rolling method
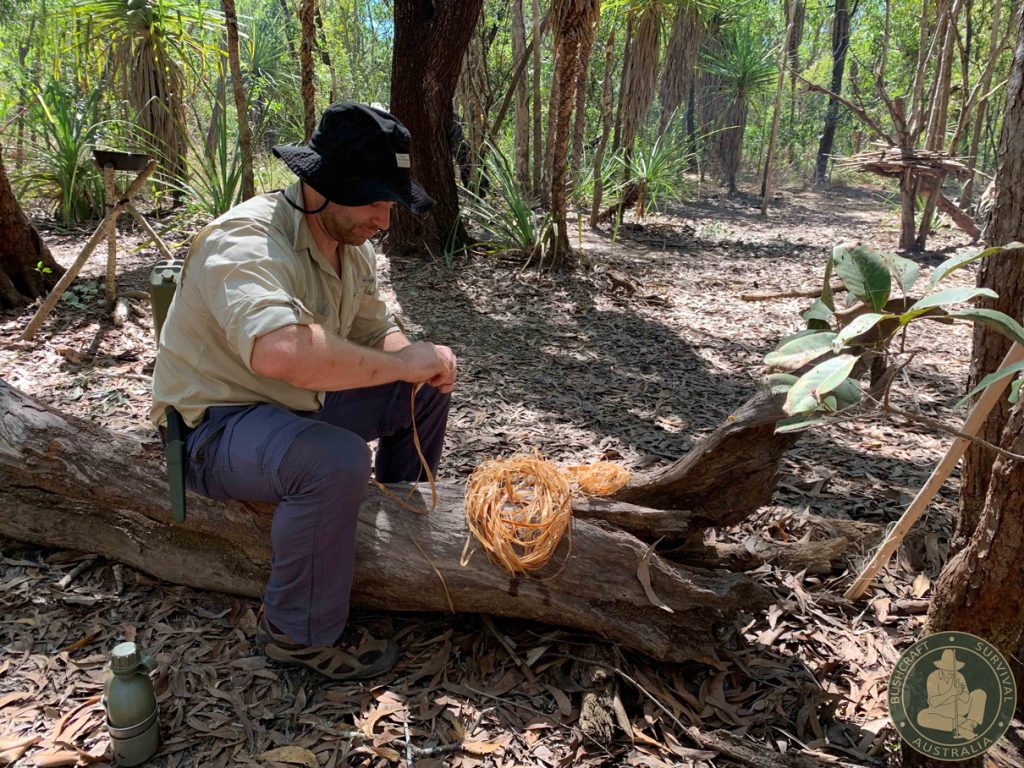 A student on a bushcraft survival course learning how to make natural cordage
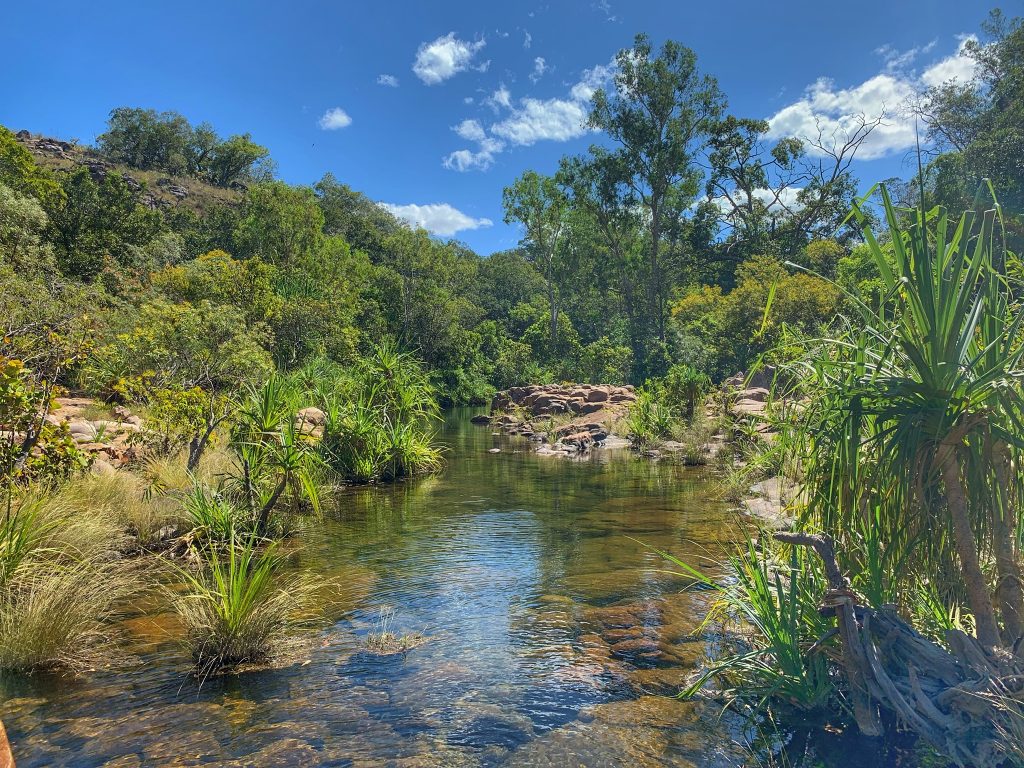
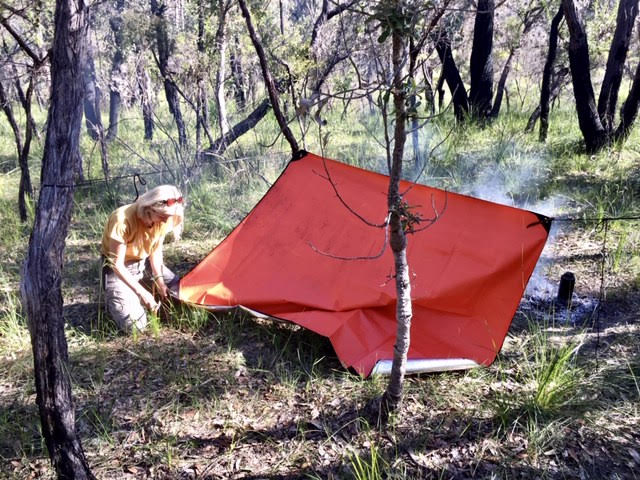
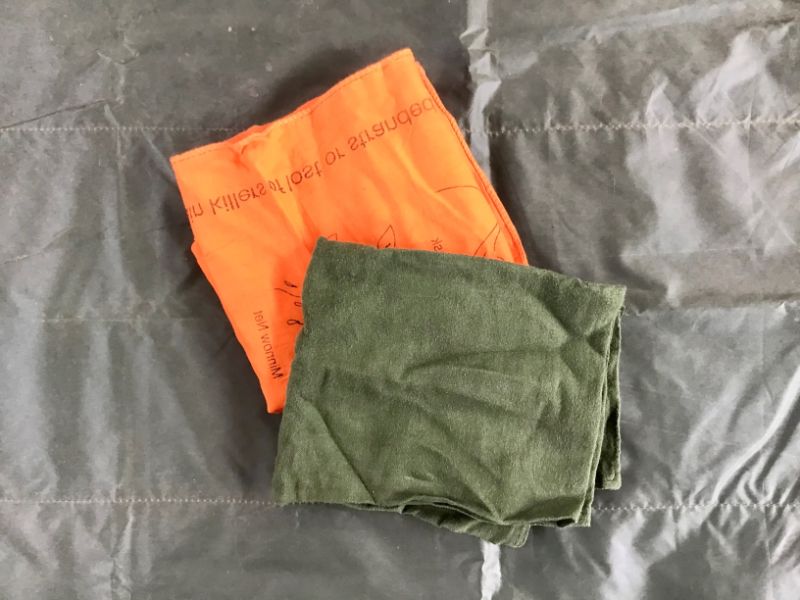
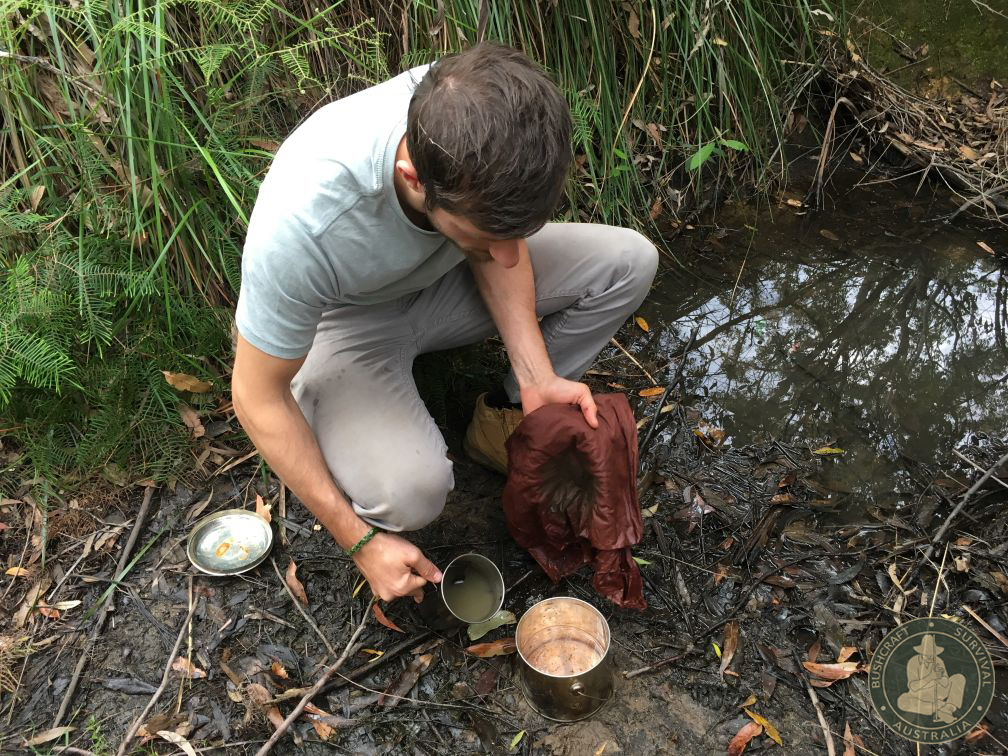
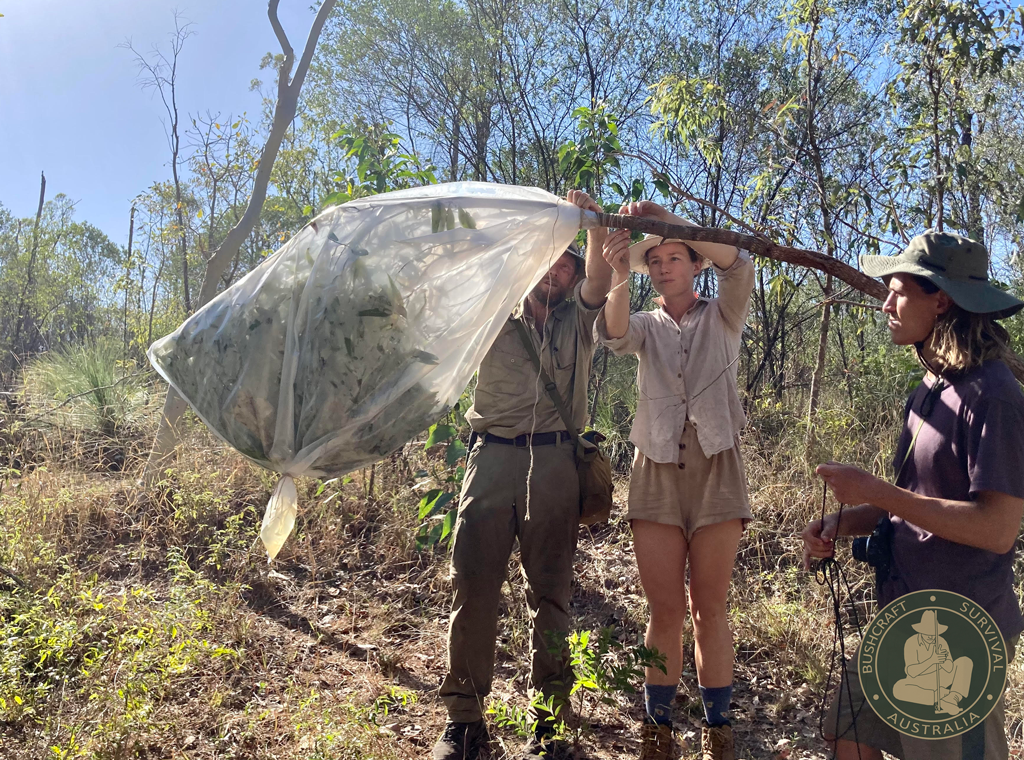
 A poncho used to catch rain water